
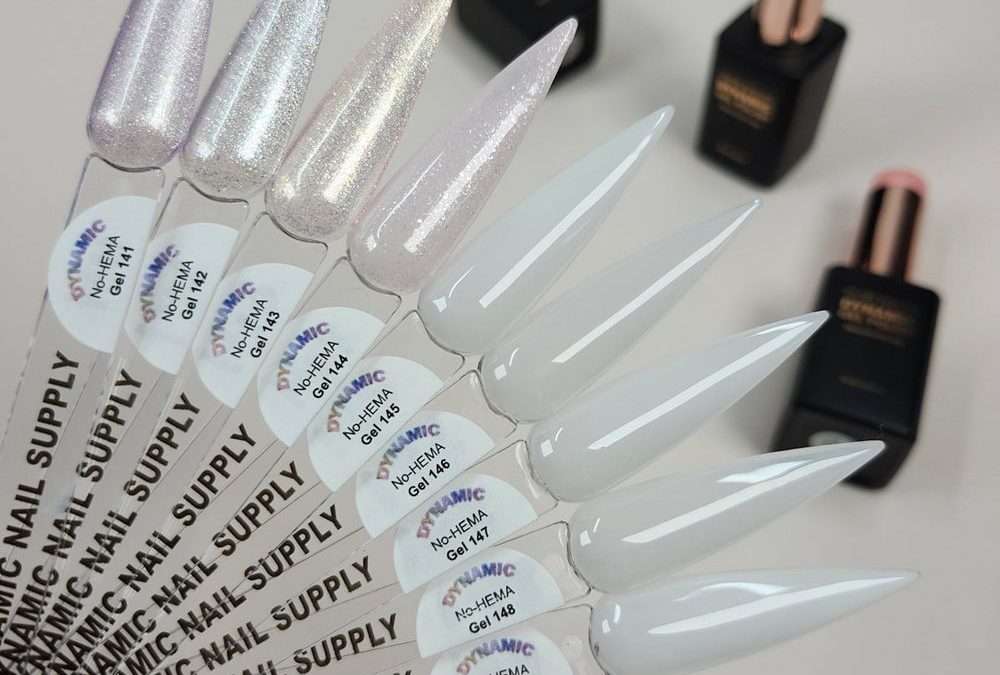
Definition: pearl white bridal nails are a soft bridal manicure that pairs opaque pearl white on most fingers with a sheer pink micro-glitter accent for a refined, photo-ready finish.
How do we plan the soft bridal layout?
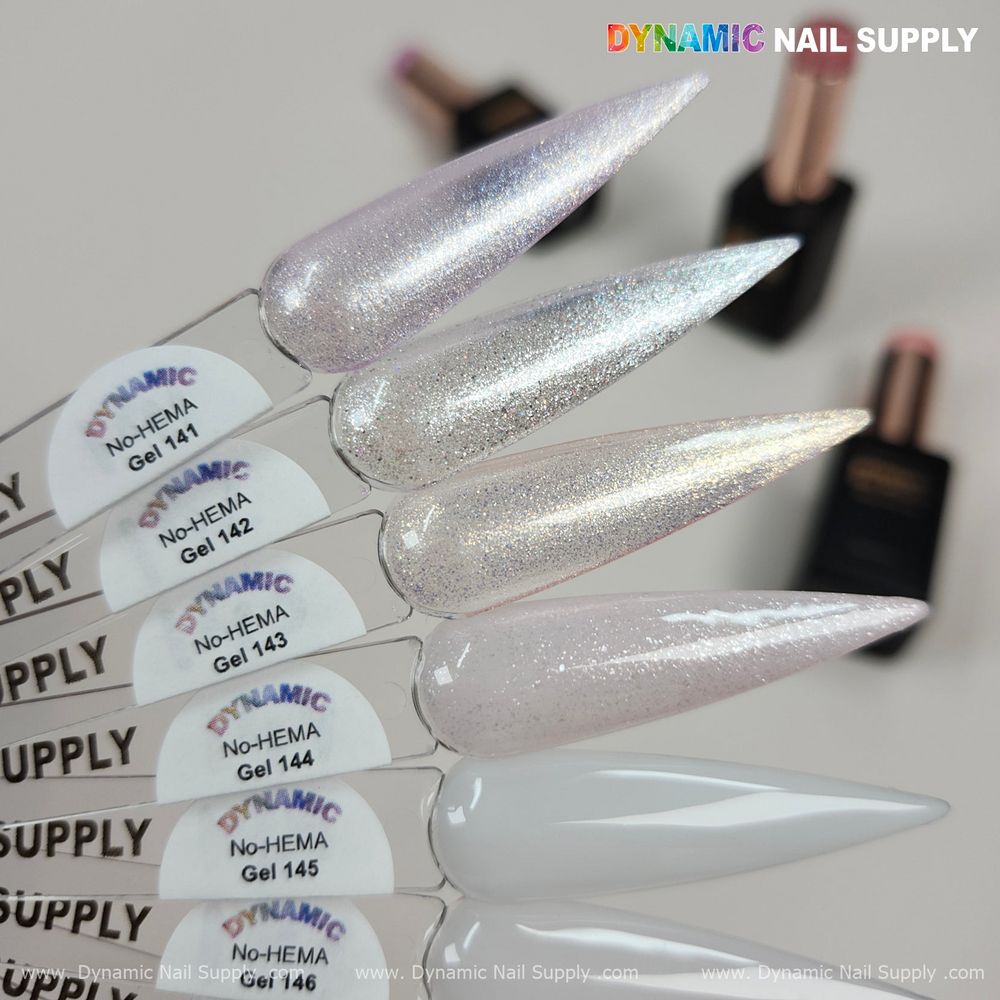
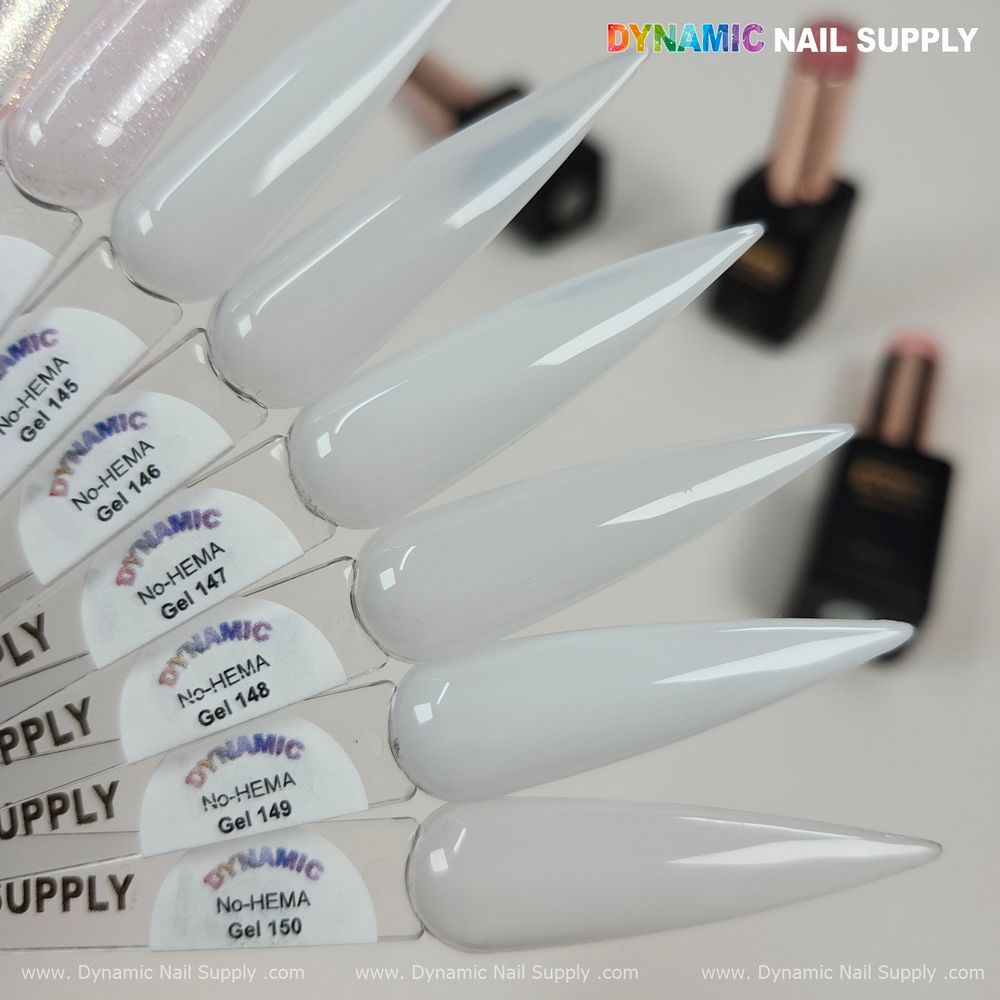
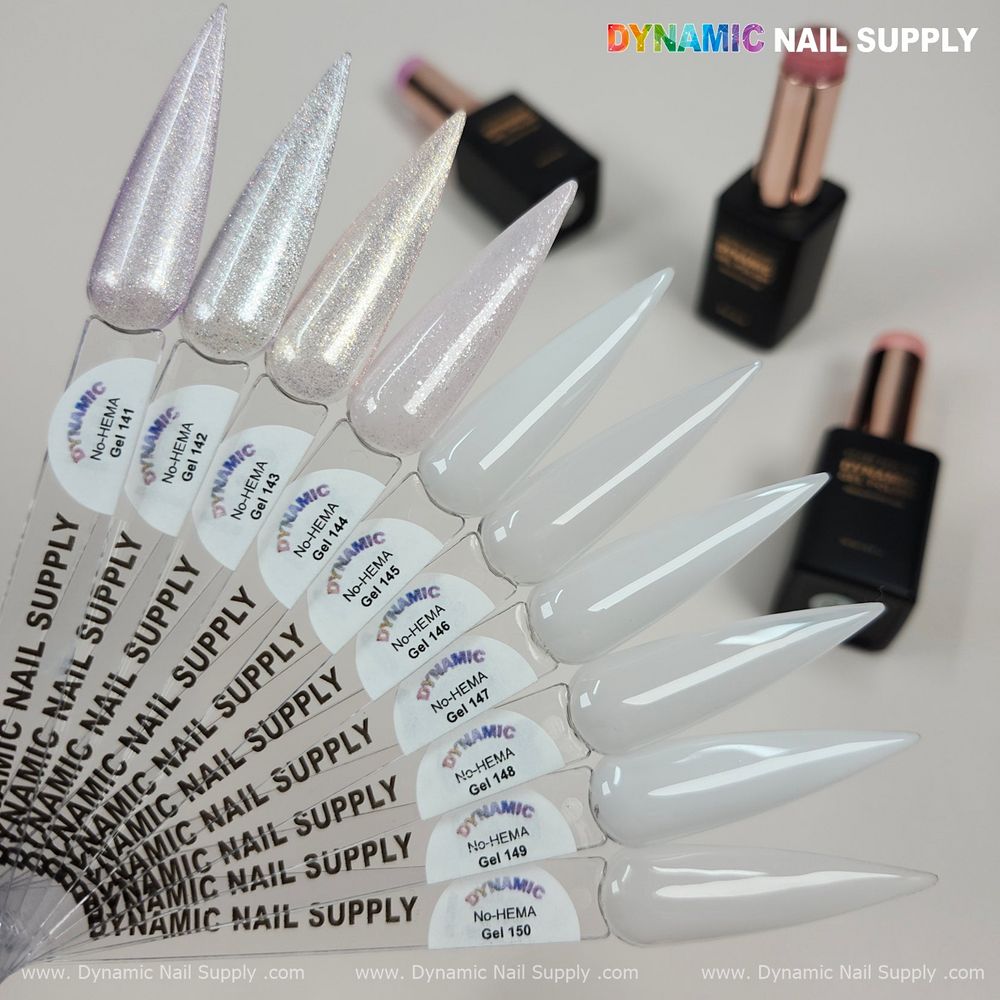
We define a service concept first: opaque pearl white on eight nails and a sheer pink micro-glitter accent on one or two nails (commonly ring finger and optionally thumb). The look reads delicate when the pearl white is high-gloss and the pink accent is translucent, allowing subtle light play without overwhelming the hand. This palette in the product photo blends iridescent lavender and champagne holographic accents with creamy milky whites to create a delicate, ethereal mood; for this tutorial we focus on the sheer pink micro-glitter shade as the accent and the opaque pearl white shades for the base.
Which supplies and quantities do we need?
- 15 ml No-HEMA gel polish: one opaque pearl white (choose from the available whites) and one sheer pink micro-glitter shade.
- Base coat and a high-gloss topcoat compatible with soak-off gel systems.
- LED/UV lamp rated for 60–120 second cures; set the cure time based on lamp output and manufacturer guidance.
- Lint-free wipes, isopropyl alcohol for tack layer removal, cleanser if required by your topcoat.
- Standard prep tools: file, buffer, pushers, cuticle nippers (if trained), and clean brushes for minor corrections.
- Optional: a thin detail brush for precise edge clean-up and a small sponge if you choose to soften the accent edges.
How do we prep for maximum adhesion and a clean finish?
- Perform standard client consultation and confirm any known sensitivities. We note that this line is HEMA-free to reduce allergic risk, but we still confirm client history.
- Sanitize hands and your station. Remove old products as needed and trim or shape the natural nail to the desired length and shape.
- Push back and remove excess cuticle tissue only if properly trained. Lightly buff the nail plate to remove shine and ensure the surface is slightly matte for adhesion.
- Degrease the nail plate with an alcohol wipe and lightly dust off residue before base coat application.
Step-by-step application workflow
- Apply a thin, even layer of base coat. Cure per base coat instructions—confirm lamp settings and position fingers for an even cure.
- First color pass: For the opaque pearl white, apply a thin stroke down the center and side strokes to wrap the free edge without flooding cuticles. Cure 60–120 seconds depending on lamp output. Repeat with a second thin layer to reach consistent opacity if needed.
- Accent pass: On the selected accent nail(s), apply a sheer pink micro-glitter in thin layers. Because the accent is translucent, we build translucency with light passes rather than blocking it out. Cure each thin pass fully to avoid uncured layers trapping glitter particles.
- Refine edges: After color cures, inspect the smile line and free edge. Use a thin brush dipped in alcohol to remove any stray pigment near cuticles before final topcoat if necessary.
- Final seal: Apply a high-gloss topcoat across all nails, ensuring you cap the free edge to prevent chipping. Cure again for the manufacturer-recommended time for that topcoat.
- Remove the inhibition layer with a lint-free wipe and alcohol if the chosen topcoat leaves tackiness. Finish with cuticle oil application to hydrate surrounding skin.
Pro tip: Apply thin, controlled passes rather than one heavy coat—thin layers cure more consistently and reduce trapped micro-bubbles under holographic shimmer.
Layering, effect control, and photo-ready tips
Layering controls how much shimmer and translucency show. For the sheer pink micro-glitter accent, two thin coats usually keep the delicate translucent look while delivering visible micro-glitter. For pearl white nails, two thin coats typically yield an even creamy opaque finish; if using a cooler or warmer pearl white from the set, test opacity on a practice tip to confirm coverage.
When preparing a set for photography, ensure consistent lamp cure across all nails and use the same topcoat for every finger to maintain uniform reflection. Wipe the inhibition layer thoroughly for a mirror-like shine that photographs cleanly under flash or natural light.
Special attention: No-HEMA Gel 141
No-HEMA Gel 141 appears in the swatch set as one of the holographic-leaning shades; based on the photo set, the first four shades show fine holographic shimmer and micro-glitter, and No-HEMA Gel 141 is the first labeled sample. For this tutorial we use a sheer pink micro-glitter shade from the holographic group as the accent—if you choose No-HEMA Gel 141 specifically, expect visible fine shimmer and light-play suitable for an accent nail that reads delicate in photos. Test a single nail before committing to the full set to confirm the intensity on your client’s nail bed.
Pro tip: When switching between holographic accent and creamy whites, clean the brush on a lint-free wipe between shades to avoid cross-contamination that can mute the pearl finish.
Safety, handling, and salon hygiene notes
- Confirm client allergy history even though these polishes are HEMA-free; HEMA-free reduces some allergic risks but does not guarantee the absence of reactions to other ingredients.
- Work in a well-ventilated area and avoid direct skin contact with uncured gel. Use gloves if you have frequent exposure and follow standard salon PPE practices.
- Follow manufacturer cure recommendations—this product lists typical cures between 60–120 seconds under UV/LED; adjust times to your lamp’s output and the product you are using as base/topcoat.
- Store bottles upright in a cool, shaded area and cap tightly to preserve viscosity.
Quick review list for service setup and timing
- Service time estimate: 45–70 minutes depending on prep and nail length.
- Typical coat plan: base coat (1), pearl white (2 thin coats), sheer pink micro-glitter (1–2 thin coats on accent), topcoat (1).
- Finish: high-gloss, photo-ready; the palette combines shimmering accents with creamy opaque whites for a refined bridal aesthetic.
- Pricing note: individual colors retail around $8 each and the full set is $80; prices may change.
Closing note — further product detail for reference follows here:
We invite you to review these supply details and test shades on tips before booking a bridal service; our notes intend to make the set-up predictable and repeatable.