
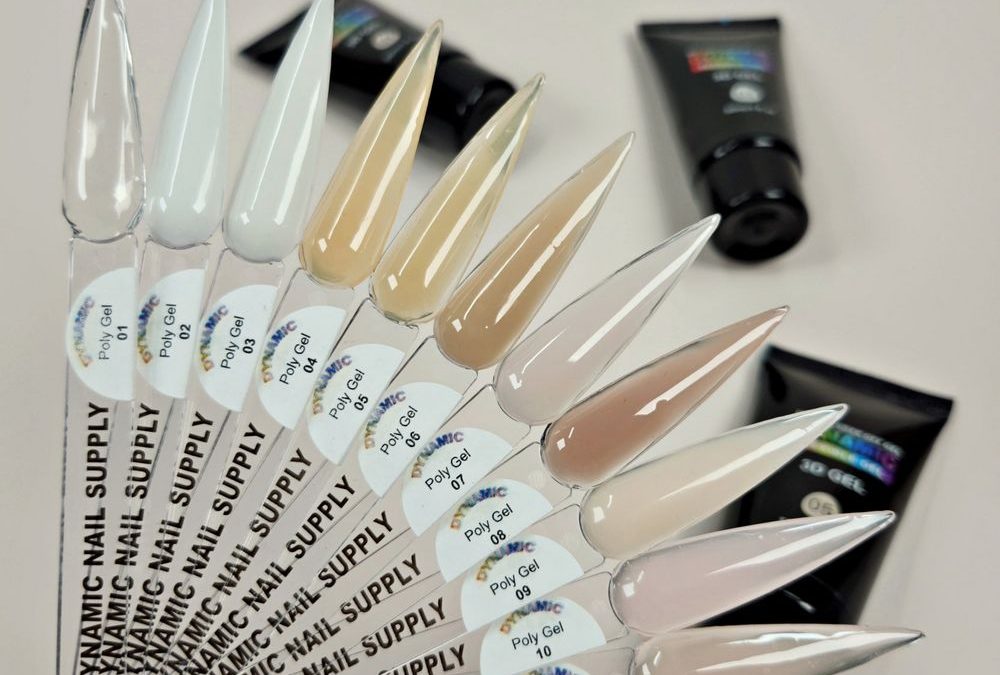
Definition: an ice white french short rounded manicure pairs opaque icy-white tips with a natural, neutral base on short, softly rounded nail shapes.
How do we prepare the client and natural nail?
We treat prep as the foundation for a clean French. Work in this order: sanitation, gentle cuticle work, surface dehydrate, and light mechanical or chemical debridement depending on product choice. For short rounded nails we preserve natural length and sidewall curvature — remove only loose keratin and excess shine where adhesion is needed.
- Sanitize hands and your station; use gloves if preferred for extended sculpting sessions.
- Push and trim cuticle tissue conservatively to avoid thinning the eponychium.
- Buff the nail plate lightly to remove high-gloss zones; clean with a lint-free wipe and isopropyl alcohol or a manufacturer-recommended cleanser.
- Apply primer or bond as required for the client’s adhesion history; allow proper flash time.
What is our structural strategy for short rounded nails?
Short rounded nails demand a low-to-moderate apex for durability without added length. We focus on a consistent, centered apex and clean sidewalls so the ice-white tip reads crisp against the neutral base.
- Map the apex visually at the stress point — typically the center of the free edge for short shapes.
- Work in small amounts of poly gel to control placement; the formula in these tubes holds where placed and reduces migration.
- Sculpt base and tip together when using forms or dual forms to ensure a seamless transition from neutral base to ice-white tip.
- Cure fully between major passes to preserve shape and minimize heat spikes.
Pro tip: Use small beads of product and a slip solution brush to position material precisely at sidewalls and the lateral gutter — less bulk equals cleaner lines.
How do we create the ice-white tip with this palette?
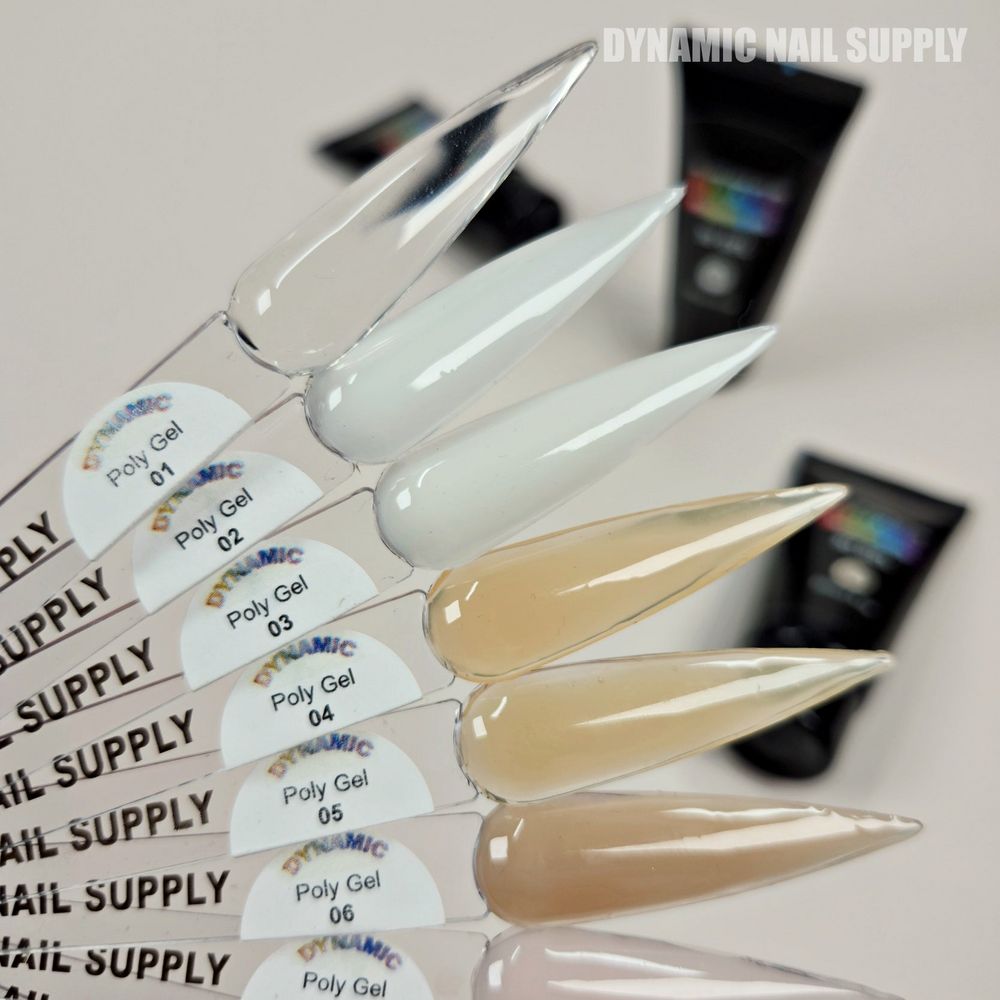
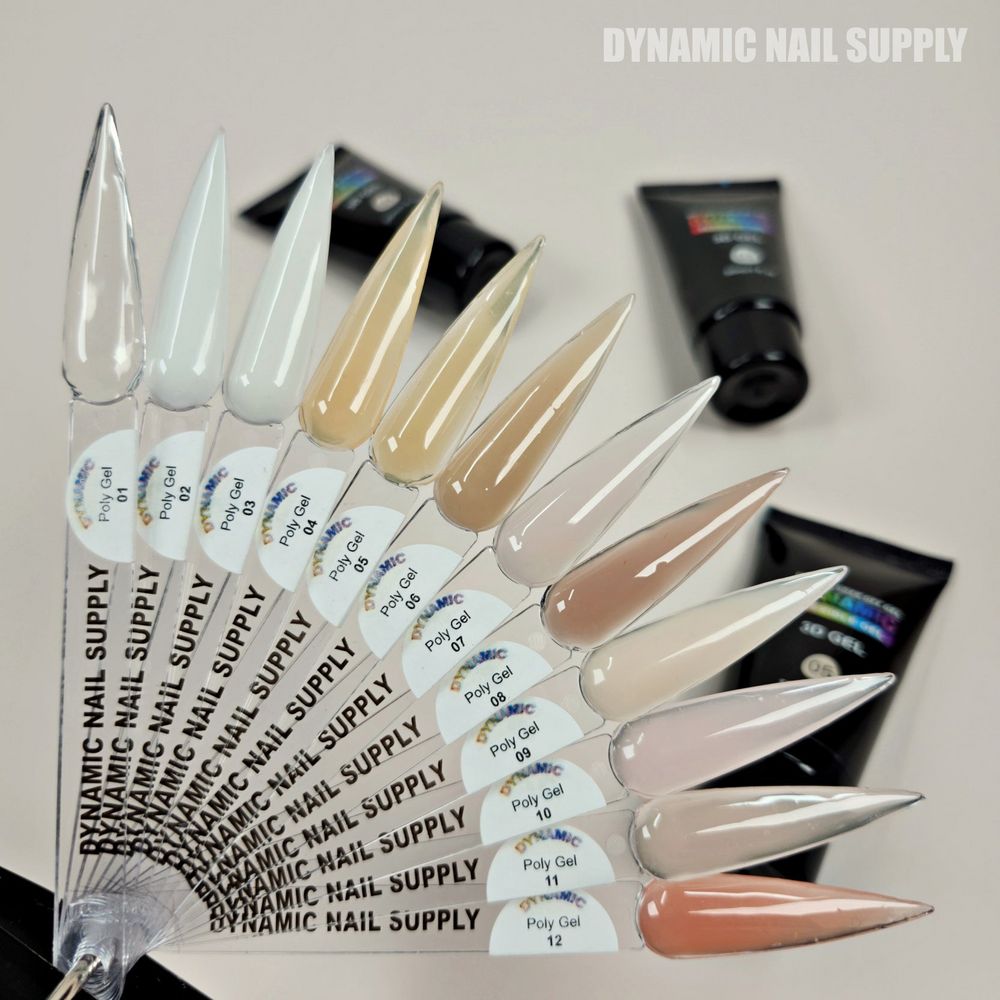
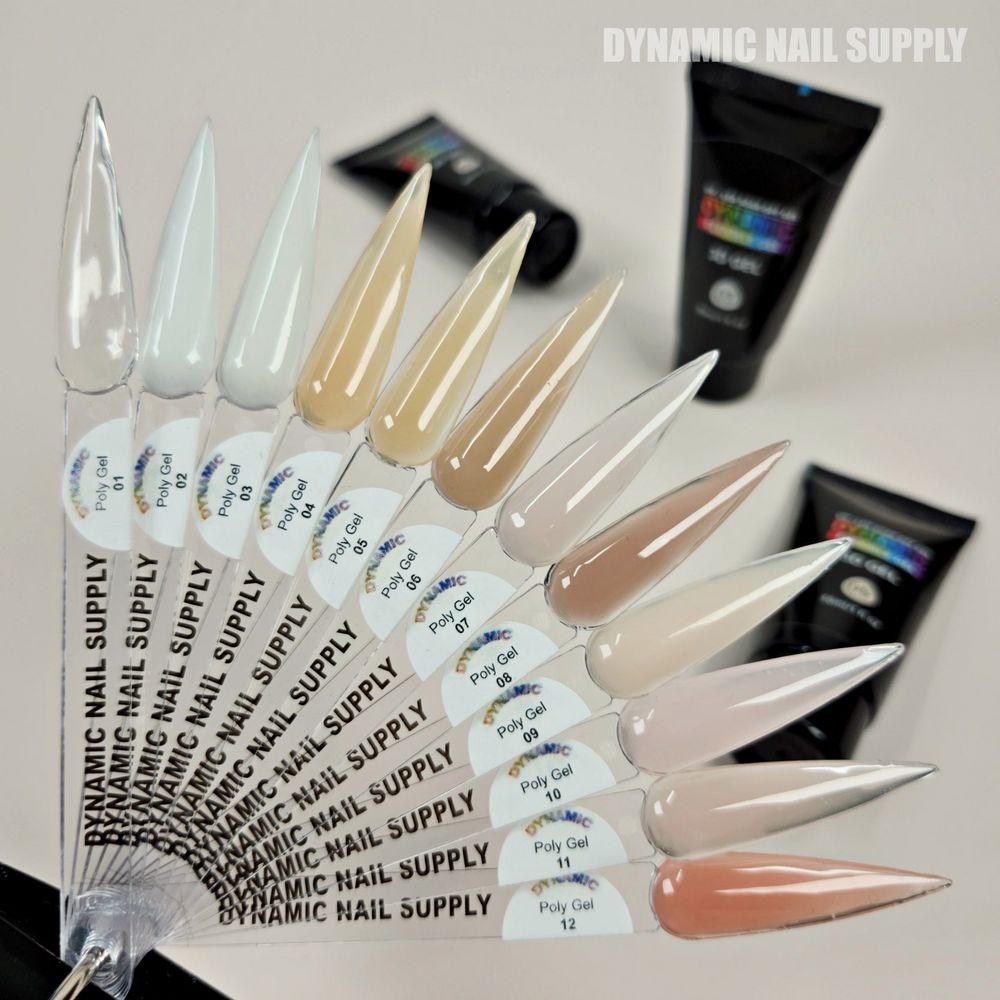
The palette includes one clearly icy white and a range of warm and cool nudes. For a classic French tip that reads crisp on short nails, we reserve the icy-white shade for the free edge and blend only where necessary into the neutral base. The icy-white is opaque and cool-toned; it produces a high-contrast but elegant tip when paired with the warmer nudey bases in the collection.
- Place a thin bead of the ice-white poly gel at the free edge, using the natural curvature as a guide.
- Sweep the bead slightly toward the smile line to form a clean arc; avoid over-bridging the sidewalls for short rounded nails.
- Lightly flatten with slip solution to remove tool marks and ensure a glossy cured surface.
- Cure under an LED/UV lamp according to the lamp and product directions.
Special attention: why Poly Gel #01 – Clear matters here
Poly Gel #01 – Clear is the transparent option in the set and plays a supporting role for structure and finish. We use it as a thin overlay to encapsulate a precise tip, to build a neutral underside for strength without altering the tone, or to bridge between an icy tip and a warm base without losing gloss.
Common uses for the clear tube in this workflow:
- Thin structural overlay across the full nail after tip placement to lock edges and increase flex resistance.
- Subtle encapsulation of the smile line for added durability on short shapes.
- Creating a smooth surface before final refinement and high-gloss top coat application.
Pro tip: Apply a hairline layer of clear poly gel and cure to check surface continuity before any final filing; this reduces over-filing and preserves the desired rounded silhouette.
How do we shape, refine, and finish for high gloss?
After curing, refine the profile with a progression of low-grit to fine-grit bits or manual files. For short rounded nails aim to keep sidewalls thin and consistent; avoid creating pointy lateral edges when refining.
- Begin with gentle refinement to remove high spots and to perfect the smile line.
- Use a 180–240 grit for contouring and 240–320 for smoothing — finish with a fine buffer only if necessary because the product self-levels.
- Clean the surface with a lint-free wipe dampened in alcohol or slip solution to remove residual dust before top coat.
- Apply a compatible high-gloss top coat and cure fully; the cured high-gloss finish complements the creamy, opaque look of the neutral shades and the icy tip.
What safety and handling points do we observe?
Work in a well-ventilated area and avoid prolonged skin contact with uncured product. Use gloves if you prefer, and keep tubes capped when not in use. Follow lamp manufacturer cure times to avoid undercure which can compromise adhesion or overcure which can cause excessive heat. Use slip solution or isopropyl alcohol for shaping — only in light amounts to avoid interfering with adhesion.
Quick review checklist for the service
- Prep: sanitize, conservative cuticle work, light buff, primer as needed.
- Structure: center apex for short rounded shape; small beads, incremental cures.
- Tip work: place opaque ice-white at free edge; limit sidewall coverage for clarity.
- Clear support: use Poly Gel #01 – Clear as a thin overlay to lock-in gloss and strength.
- Finish: refine progressively, clean, top coat, full cure.
- Safety: ventilate, avoid skin contact, cap tubes, follow cure times.
We recommend this tube set for technicians who want a neutral, skin-tone palette with one true icy white option and consistent high-gloss results. The tubes are sold individually at a modest price; prices may change.
See the full selection and confirm availability here https://dynamicnailsupply.com/products/hema-free-professional-poly-gel-15g-for-building-or-sculpting-nail-extensions-acrylgel
We invite you to examine the shades and practice the ice-white French workflow with the set to refine placement and consistency.