
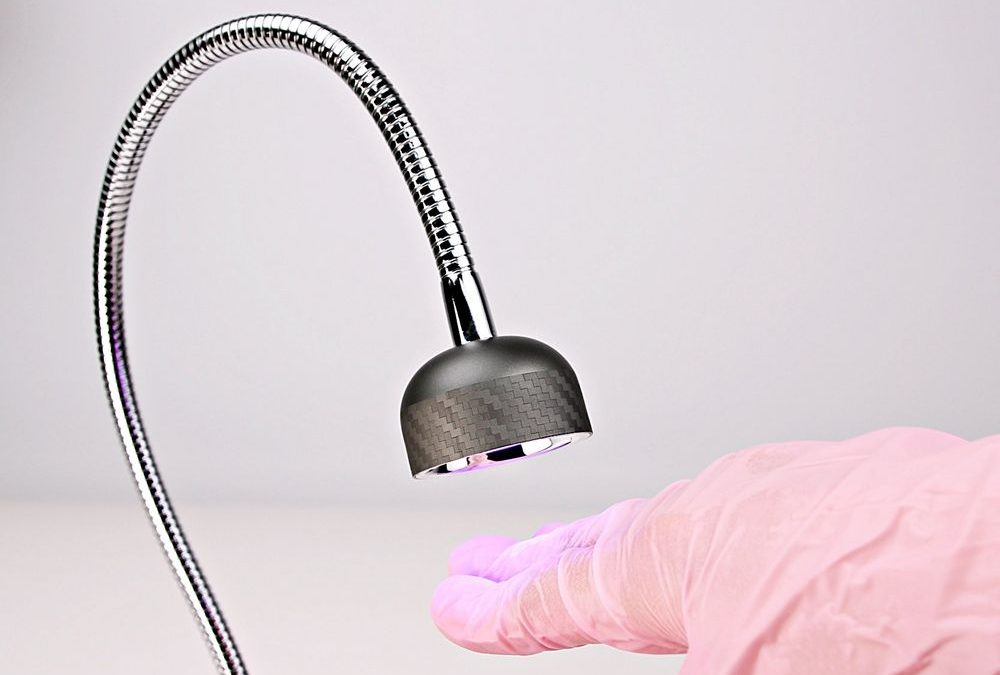
Definition: A cordless flash cure lamp is a small rechargeable UV/LED device with a focused light head and sensor activation designed to temporarily set or tack-cure gel tips, builder gels, and nail art so we can position and refine before full cure.
How does the lamp work and what are the key components?
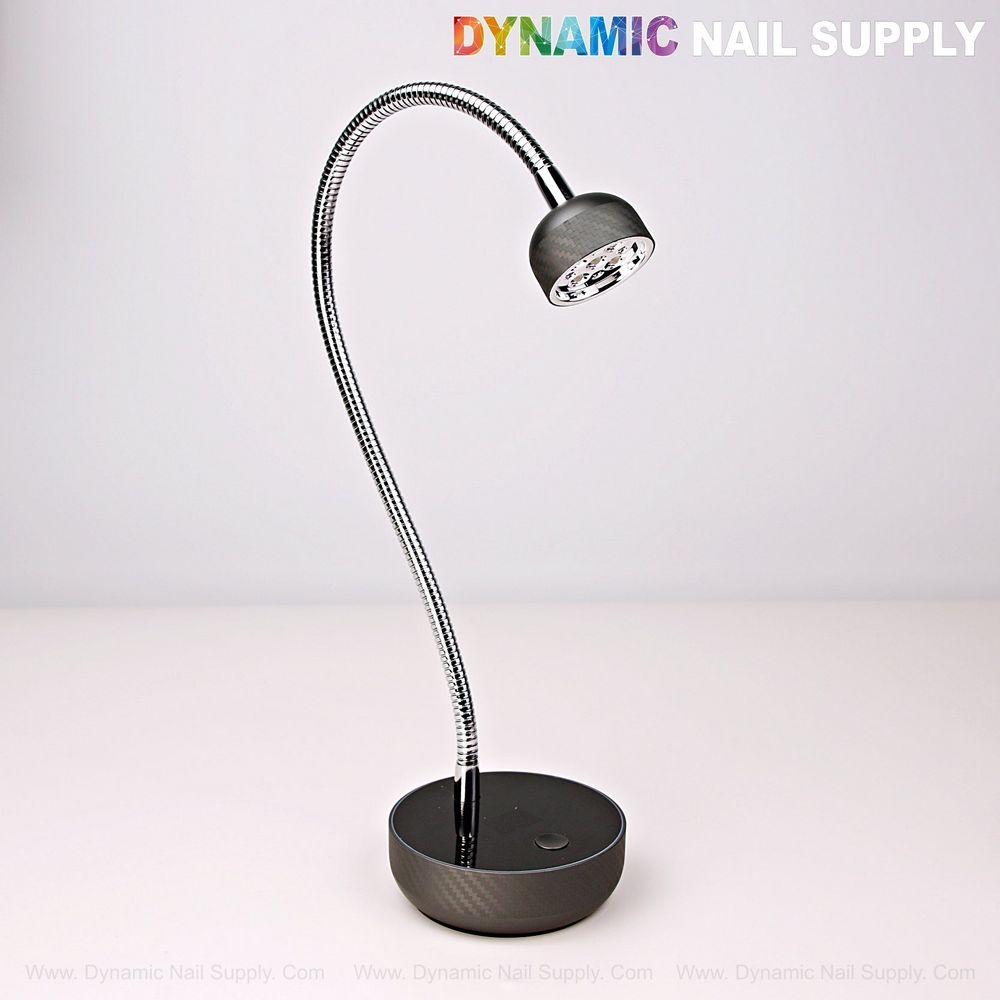
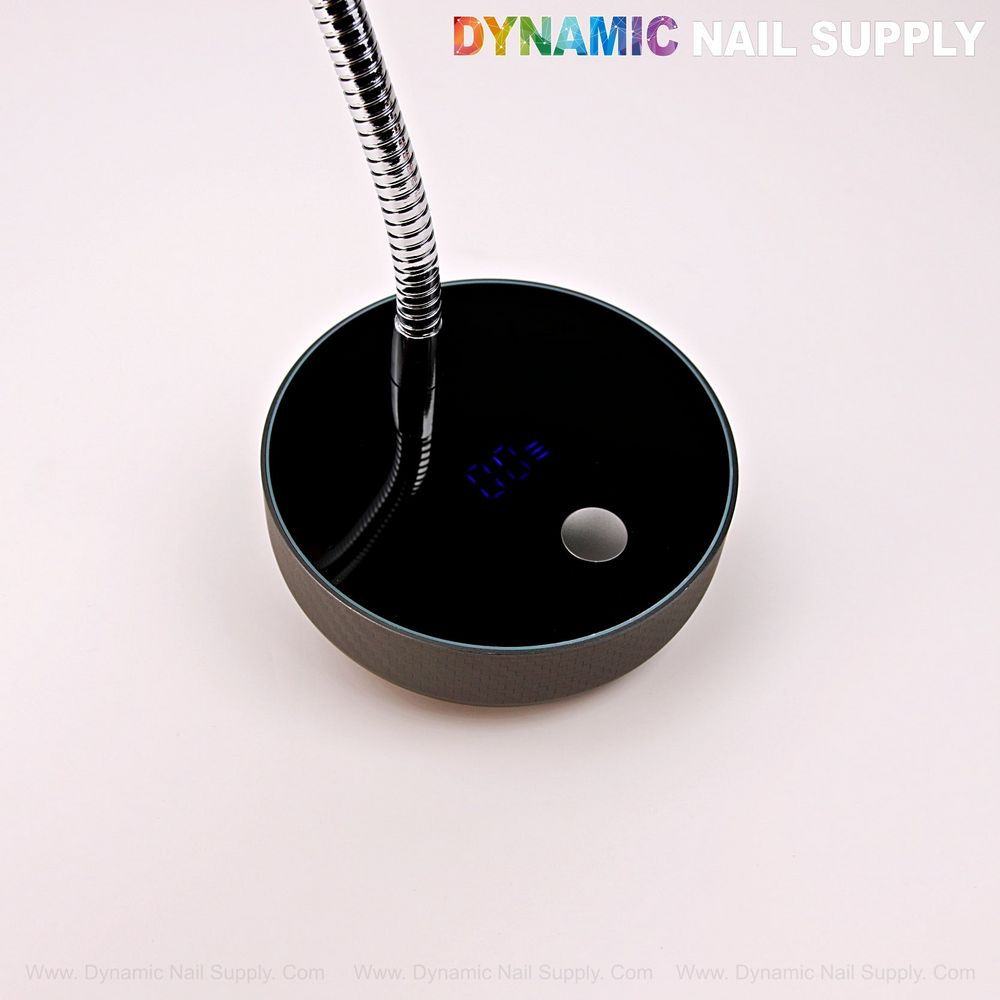
The device is compact and cordless, driven by an internal rechargeable battery charged through a USB Type-C port. A flexible gooseneck arm lets us bring the light precisely to the work surface. An infrared sensor detects a hand or tip within about 1.97 inches (5 cm) and activates the LED ring automatically. Inside the head we can see multiple LED points arranged in a ring for even flash curing. A single clearly visible control button on the base selects power and timer settings.
How do we set up the lamp for service?
- Charge first: Fully charge the lamp using a 5V USB Type-C power source until the indicator (if present) shows ready. A laptop, power bank, or USB wall adapter are suitable charging sources.
- Button sequence: Press the circular button on the base to power on. Use the same control to cycle timer options (typical presets include short flash durations useful for tack curing and longer pulses for brief setting).
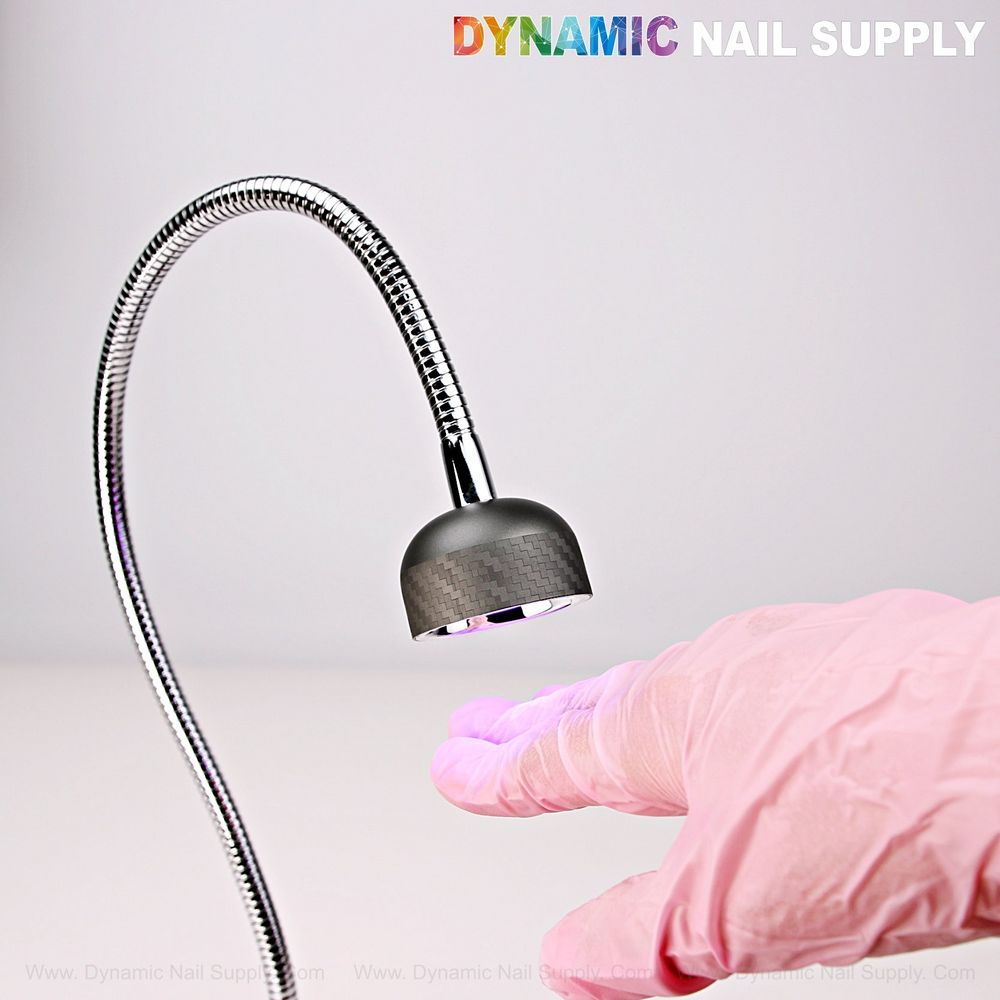
- Positioning: Adjust the chrome flexible neck to angle the lamp head so the LED ring sits approximately 1.97 inches (5 cm) above the nail or tip for most predictable sensor activation.
- Sensor use: Move the hand or single tip into the sensing range to trigger the lamp. The infrared sensor removes the need to hold buttons during precise tip placement.
- Workflow: Use the flash cure to hold Gel-X tips, soft gel pieces, or nail art in place while you finish alignment. For full structural cures follow with a standard full-size lamp according to the gel manufacturer’s instructions.
How do we integrate the lamp into common nail workflows?
Because the lamp is intended for quick flash curing rather than full polymerization, we treat it as a positional aid and interim set. Typical uses include:
- Securing extension tips or Gel-X pieces for trimming and shaping.
- Locking soft builder gel layers or intricate art before final cure under the main lamp.
- Momentary tack curing to prevent slippage while applying decals or 3D elements.
For each use, we confirm timer selection and sensor range before committing to the next step in the service.
What safety and handling points should we follow?
- Avoid staring directly into the LED ring and do not look at the light at close range. The lamp emits concentrated UV/LED light intended only for curing product on nails or small objects.
- Keep the sensing area clean and free of debris so infrared detection works reliably. Finger oils or sticky gels on the head can impair performance.
- Allow the lamp to cool between extended uses; continuous repeated flashes may warm the head. Treat the unit like other electrical devices and store it away from liquids and high humidity.
- Use USB-C charging cables and adapters that meet basic safety standards; do not attempt to open or modify the battery compartment.
How should we choose and care for this tool?
Choose this style of small flash cure lamp when you need portability, hands-free operation, and precise positioning. The long chrome gooseneck and compact footprint suit mobile techs and crowded benches alike. Consider the following selection and care notes:
- Portability: A rechargeable lamp with USB-C lets us work away from a fixed power source. Confirm battery level before bookings.
- Workspace fit: The round glossy base and small profile save space; make sure the base sits level to avoid accidental movement during placement.
- Surface care: Wipe the exterior with a soft, slightly damp cloth. Avoid solvents on textured surfaces that might wear the finish.
- Storage: Coil the gooseneck gently rather than folding sharply to preserve its range of motion.
How do we troubleshoot common issues?
- Sensor not activating: Confirm hand is within roughly 1.97 inches (5 cm) of the head and that the sensor area is clean.
- Weak light or no power: Check the battery charge via your USB-C source and use a known good 5V adapter or power bank.
- Uneven flash: Ensure the gooseneck is positioned so the LED ring faces the target evenly; small angle adjustments correct most shadowing.
Pro tip: When positioning Gel-X tips, use a short flash to tack the apex, then inspect alignment before moving to final cure. A flash cure can hold placement without affecting surrounding layers.
Pro tip: Maintain a small dedicated charging cable and portable power bank in your kit so battery interruptions do not disrupt back-to-back appointments.
What is our short review checklist?
- Design: Sleek, minimalist look with a reflective chrome goose neck and a textured head and base that read professional on any station.
- Function: Reliable hands-free sensor activation and a visible LED ring for focused flash curing.
- Portability: Cordless operation with USB Type-C recharge makes it travel-ready.
- Versatility: Best used as a positional/tack cure tool, not as a replacement for a full-size curing lamp.
- Value: Price listed at $24.99; prices may change.
For a compact, adjustable flash cure solution that keeps both hands free and fits into a small kit, consider this long gooseneck cordless lamp as a practical addition to our service tools. Find additional product details here: https://dynamicnailsupply.com/products/long-goose-neck-flash-cure-cordless-uv-led-lamp-with-auto-sensor