
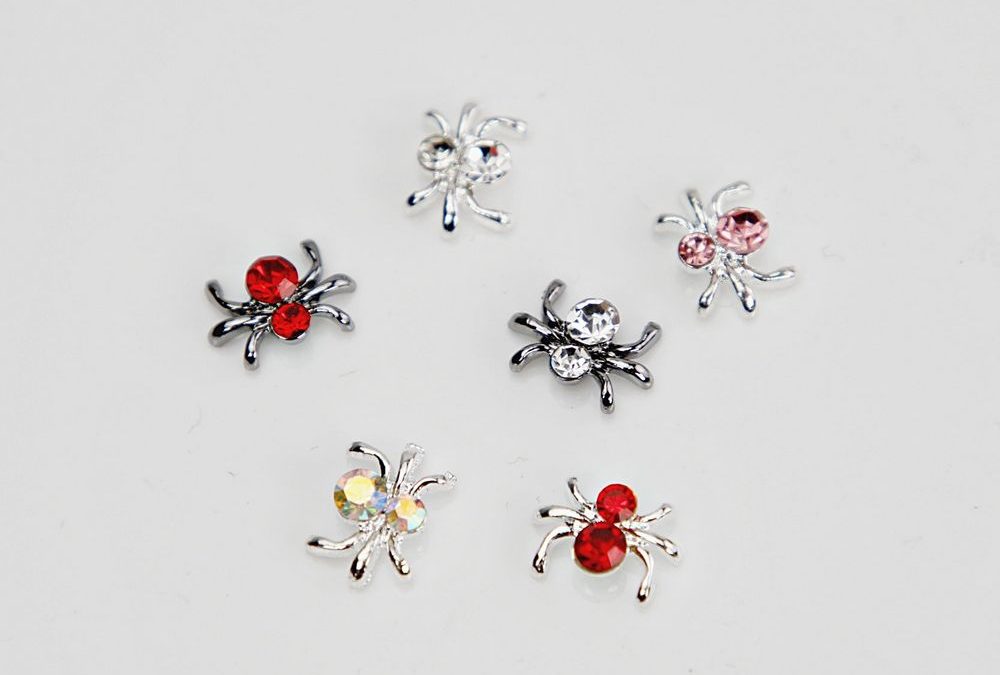
A spider charm halloween nails tutorial focused on a single silver metallic spider charm used as a focal accent on glossy black tips. This is a concise, technical study note that covers preparation, product compatibility, placement, and finishing for a reliable salon result.
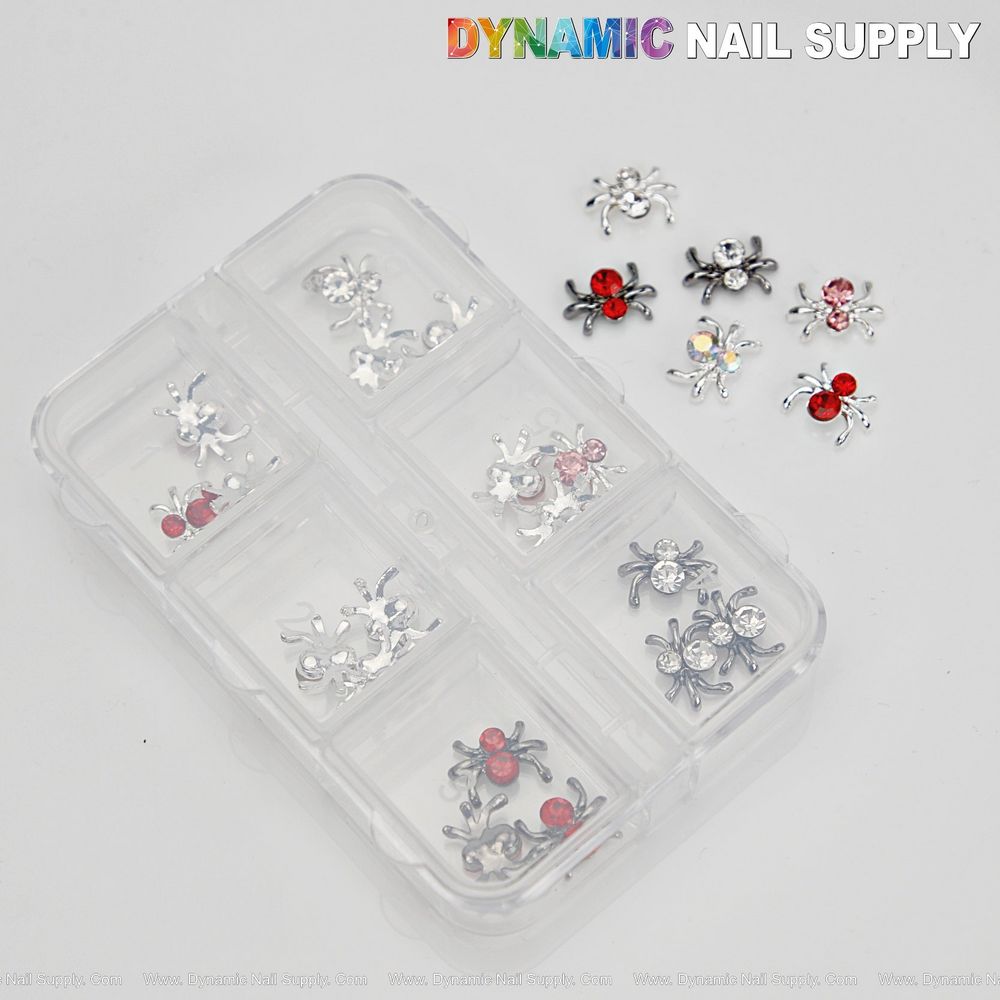
For a close look at the set we recommend, view 6-grid Rhinestone Spider Charms to confirm components and tray layout.
We will reference the product as a recommended supply in this workflow: is the specific spider-style 6-grid rhinestone charm set shown for this look.
What are the essential tools and supplies?
- Glossy black gel polish (base and top compatible with LED/UV curing)
- Builder or base gel for tip reinforcement (as needed)
- Fine nail tip form or pre-shaped tips for crisp black tips
- Flat gel brush and small detail brush for cleanup
- Cleanser & lint-free wipes
- Thin layer of gel adhesive or gel-resin for charms (low-odor, 2-part or one-step bead gel)
- Pointed pick or stainless steel tweezer for handling the spider charm
- Small amount of slip solution or isopropyl alcohol for repositioning and removing inhibition tack (per product direction)
How do we prepare the natural nail and tip?
- Sanitize hands and work area. Set up lighting and curing lamp within comfortable reach.
- Perform the standard nail prep: remove old product, push back cuticles, lightly buff surface to remove gloss, and dust off. Do not over-file the natural nail plate.
- Apply dehydrator and primer only where indicated by your system. Allow primer to flash as recommended.
- Apply a thin base or builder layer if you use overlay or tip reinforcement. Cure per manufacturer instructions to create a stable platform for the tip and charm.
- Apply pre-shaped tips or sculpt crisp black tips using a form. Ensure the smile line and free edge are smooth before moving to color application.
What is the step-by-step application for glossy black tips?
- Paint a thin, even layer of glossy black gel polish across the tip area; cure fully. Thin layers maintain gloss and reduce bubbling.
- Apply a second coat if needed for full opacity; cure. Avoid pooling at cuticle or sidewalls to keep lines sharp.
- If you prefer a mirror-like finish, apply a thin, no-wipe top gel and cure according to the product. Otherwise, finish with a proper no-wipe or wipe top for maximum shine.
- Check the surface for dust or lift before charm placement. The charm should sit on a fully cured surface only when using adhesive; if using tacky gel to embed, follow system instructions for tack stage.
How do we place and secure the silver spider charm?
- Select the placement: classic locations are the ring finger center near the cuticle or the apex of a glossy black tip for dramatic contrast. Consider the client’s hand size and activity level.
- Work on a stable table and use a pointed pick or angled tweezer to lift the tiny silver spider charm from its 6-grid tray. Handle by the metal body rather than the rhinestones to avoid loosening stones.
- Apply a small bead of gel adhesive or a thin drop of builder gel where the charm will sit. We use minimal adhesive so the charm sits flush with the nail surface without tilting.
- Place the charm gently into the adhesive. Slightly press to seat the metal body against the cured gel or adhesive bed. If your adhesive requires curing, cure for the recommended time with the charm in place.
- Check alignment and orientation before final cure. The spider silhouette should be level; adjust immediately if necessary.
- After full cure, secure surrounding edges with a tiny amount of top gel around the perimeter of the charm’s base if additional hold is needed. Cure again. Avoid covering rhinestones with top gel, which will dull their sparkle.
Which finishing touches preserve shine and durability?
- Clean any excess adhesive carefully with a micro brush and slip solution. Avoid solvents that could corrode the metal finish.
- Use a fine file or buffer only on the nail surface; do not file the charm metal. Remove inhibition tack only as directed by your top gel system.
- Advise the client on aftercare: avoid direct exposure to strong chemicals, wear gloves for cleaning tasks, and be mindful of the charm when removing rings or gloves.
What safety and handling notes should we follow?
- These spider charms are small metal items with attached rhinestones—keep away from young children to prevent choking hazards.
- Use caution with solvents around the metal; prolonged exposure can affect the metal finish and rhinestone glue.
- When curing with LED/UV lamps, follow lamp manufacturer guidance and client safety protocols to avoid overexposure.
How do we style the look for different client preferences?
- For high drama: place the silver spider on a glossy black tip and add a single red rhinestone nearby to pick up the charm’s accent color.
- For a softer take: use a sheer nude base with a single spider on the ring finger; the silver contrasts without overwhelming the manicure.
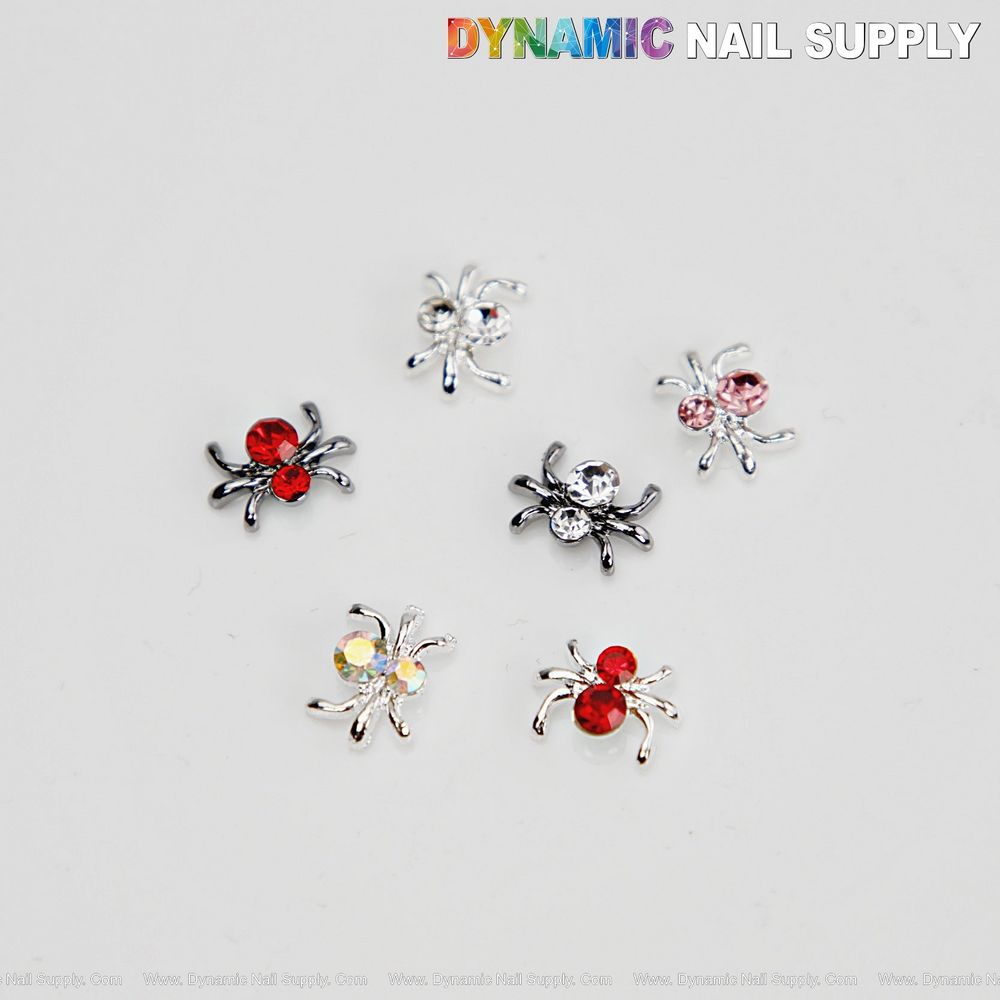
- For a holographic pop: pair the silver spider with an AB-iridescent accent nail to echo the single AB stone visible in the set.
Pro tip: When positioning the charm, orient the legs to follow the natural curve of the free edge for a more integrated look and less chance of snagging.
Pro tip: Keep one charm spare from the 6-grid tray in your kit for quick replacement—these tiny items can be misplaced during service.
Short review checklist for salon use
- Design identity: distinct spider silhouette in a 6-grid tray—consistent sizing for single-focal placement.
- Palette: polished silver metal with red, clear, light-pink, and one AB rhinestone—works well against glossy black.
- Finish: high-shine reflective metal and faceted crystals that catch light; avoid top-gel over rhinestones to preserve brilliance.
- Durability tips: secure with minimal adhesive, cure fully, and seal around the base only if extra hold is required.
- Price note: the set is an affordable accent option at $5.99; prices may change.
We recommend this spider-style 6-grid rhinestone charm set for any technician preparing seasonal or themed services where a single, high-contrast accent is desired. 6-grid Rhinestone Spider Charms
Explore the product details and packaging to confirm compatibility with your adhesive and gel systems.