
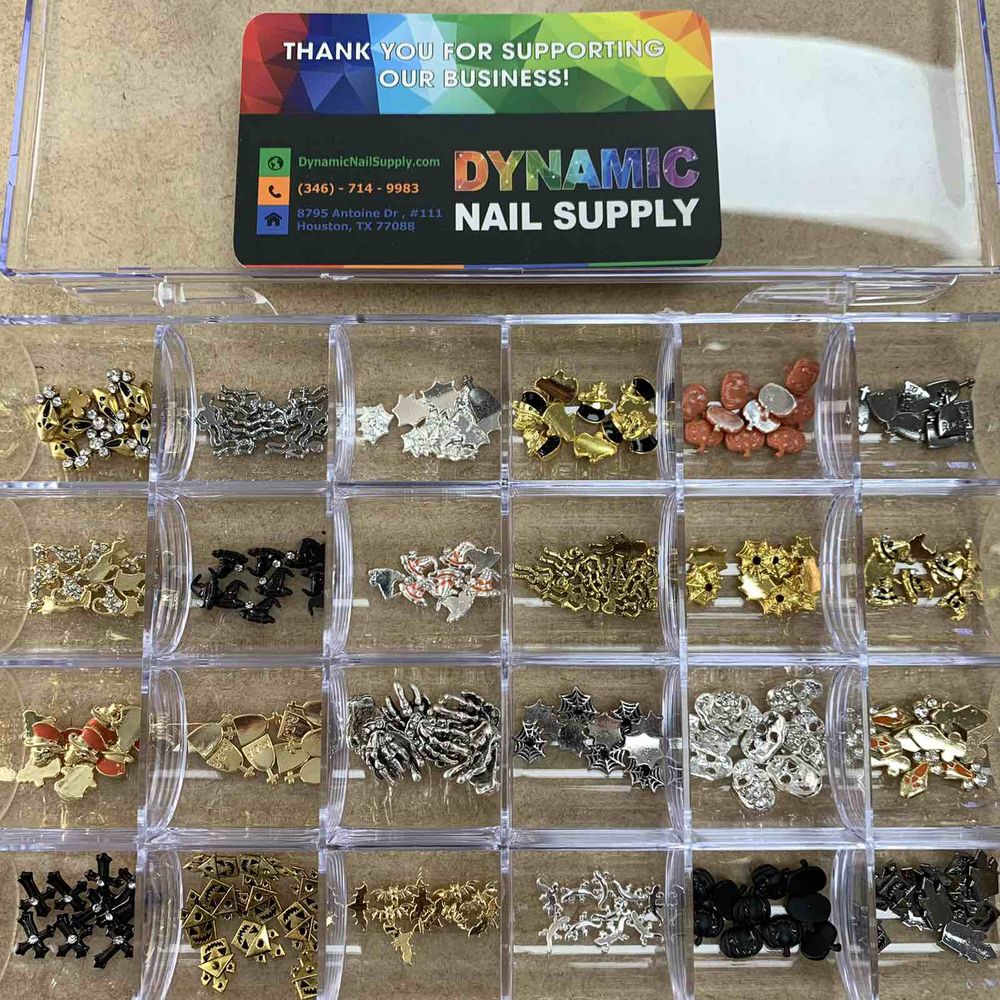
Small metal and resin accents can transform a simple manicure into an eye-catching Halloween statement. This guide explains what Halloween 3D nail charms are, what comes in a typical bundle set, and — step by step — how a beginner can stick, seal, and style them confidently.
What’s included in the bundle
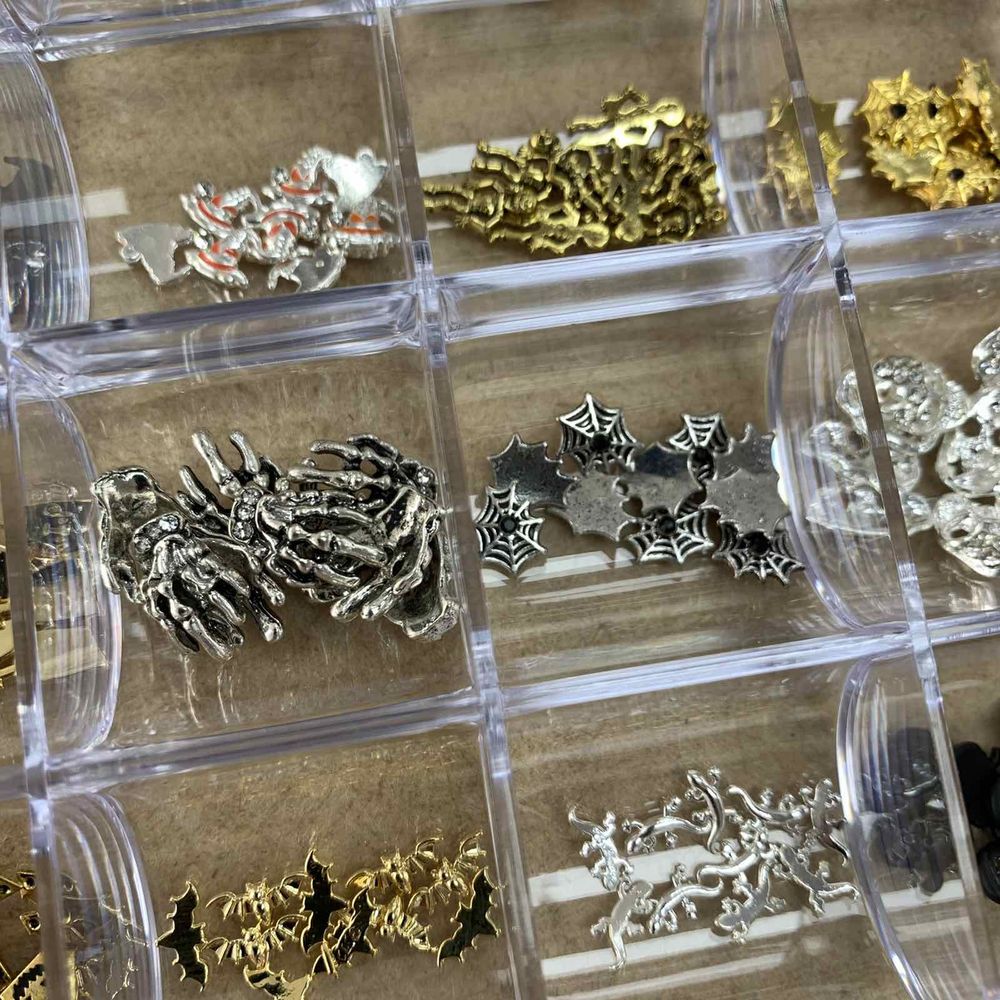
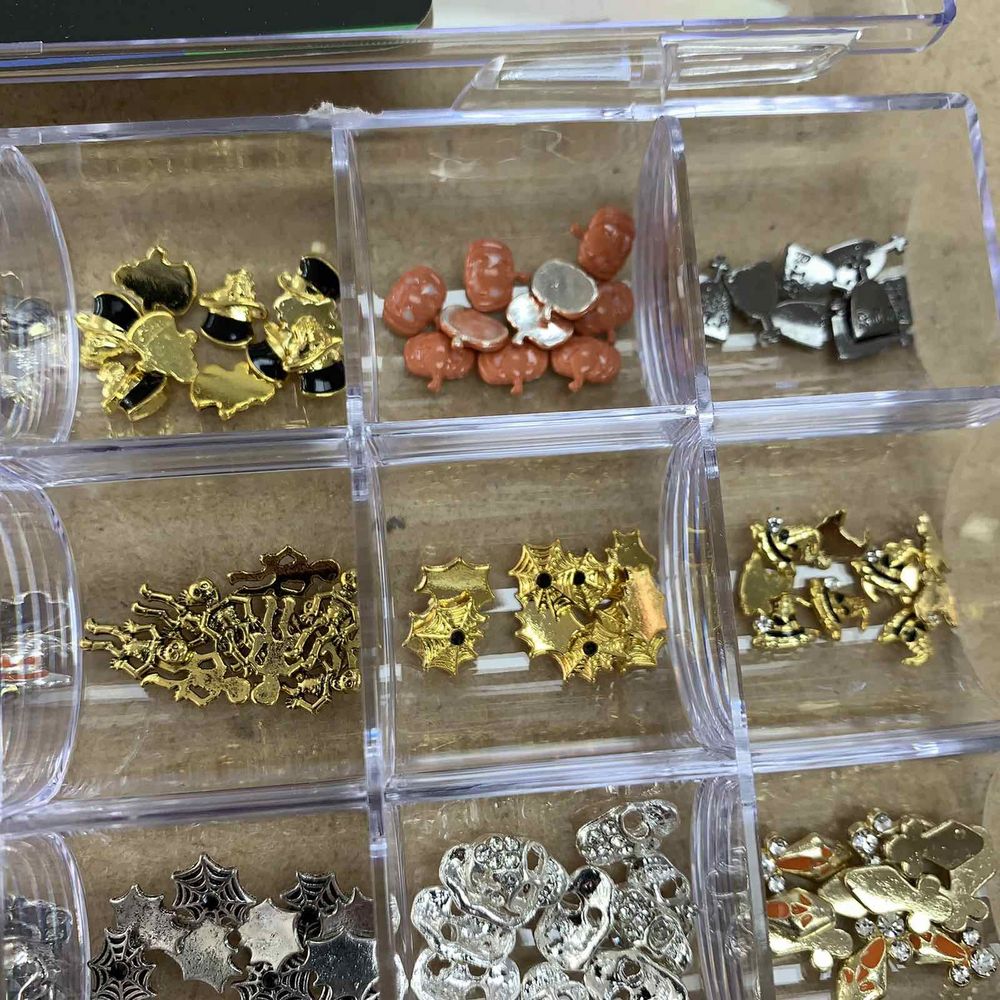
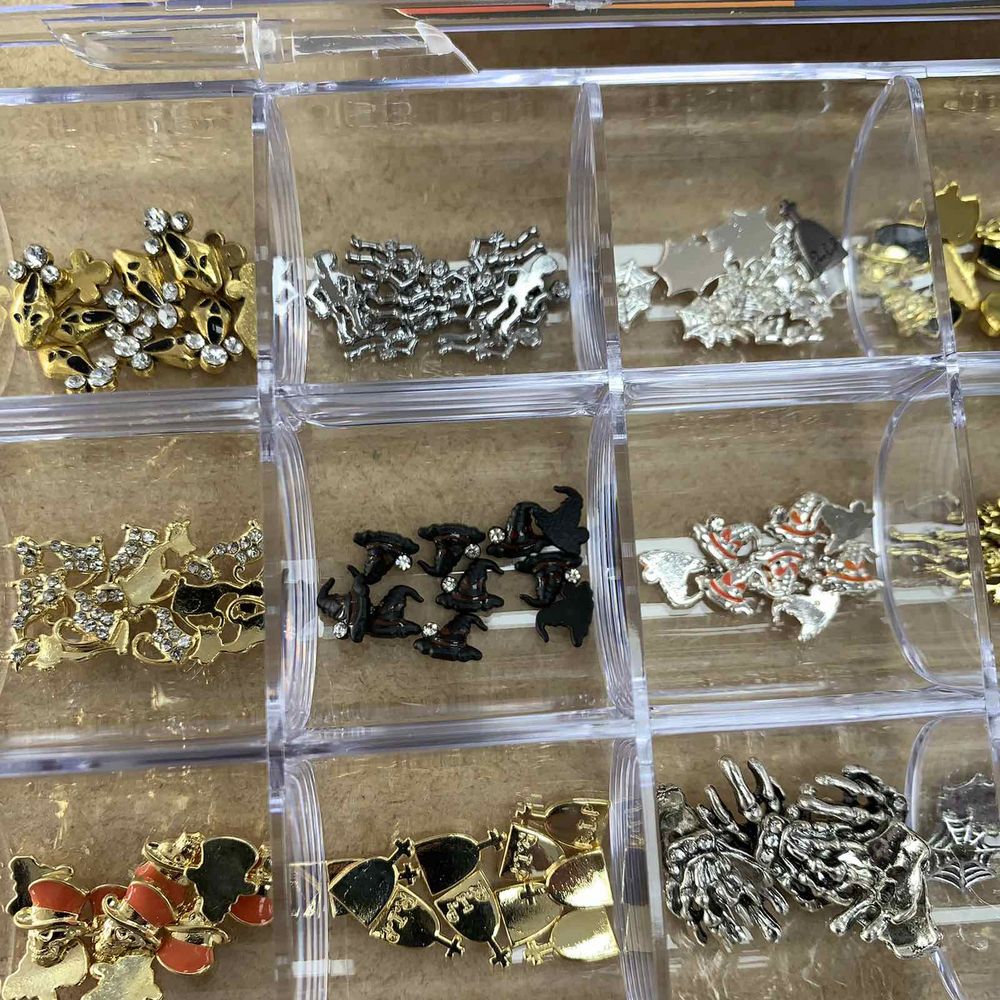
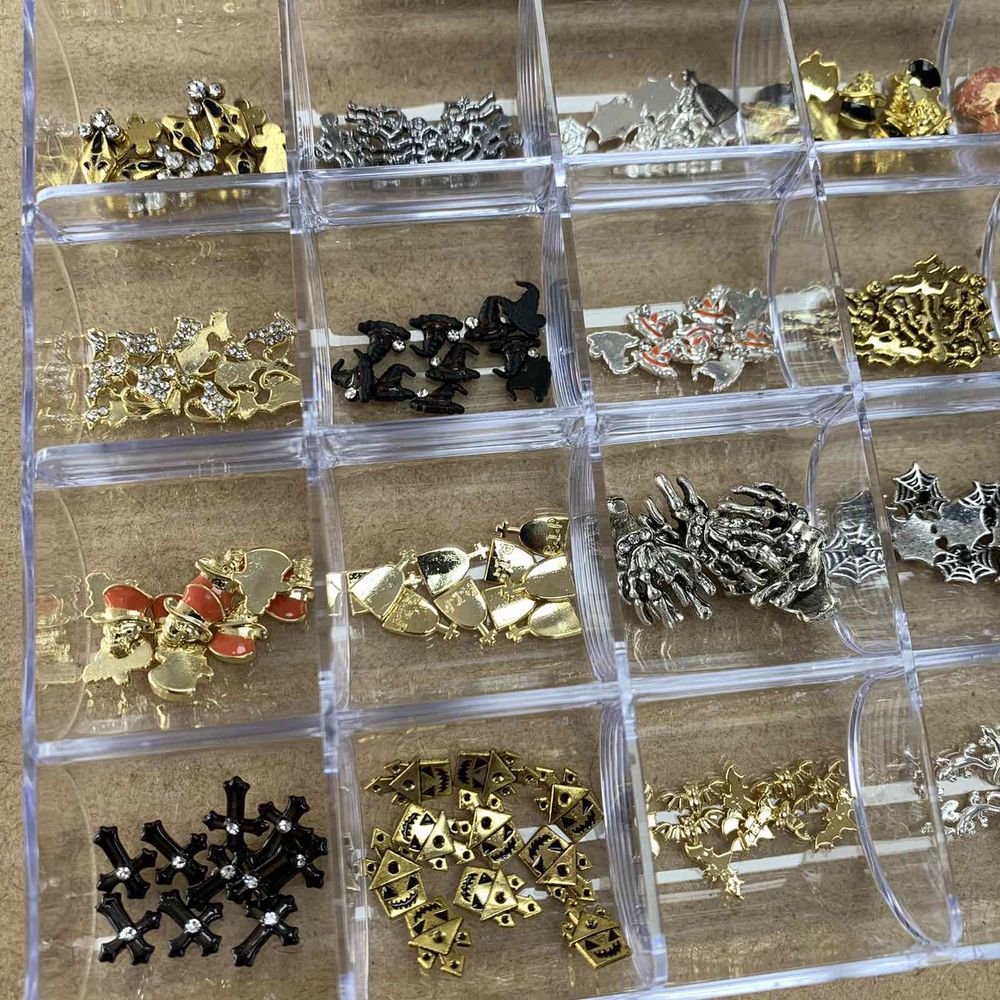
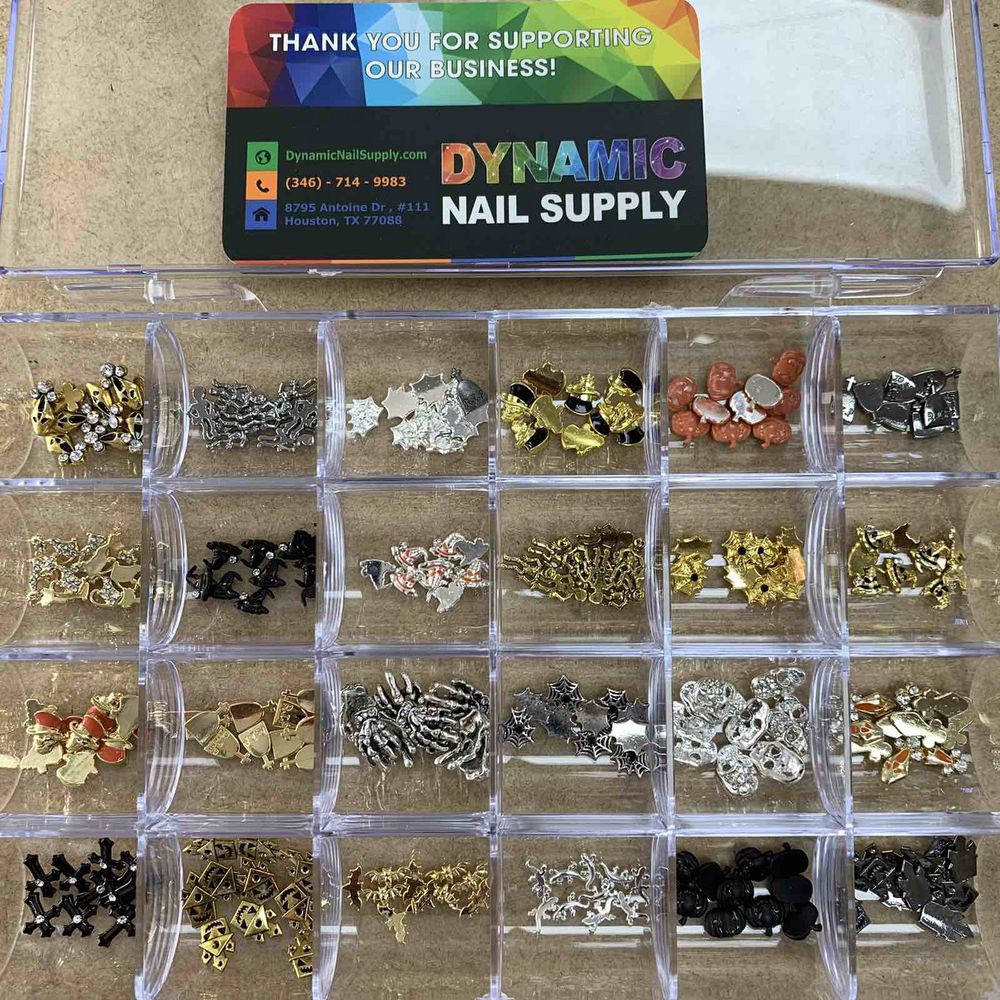
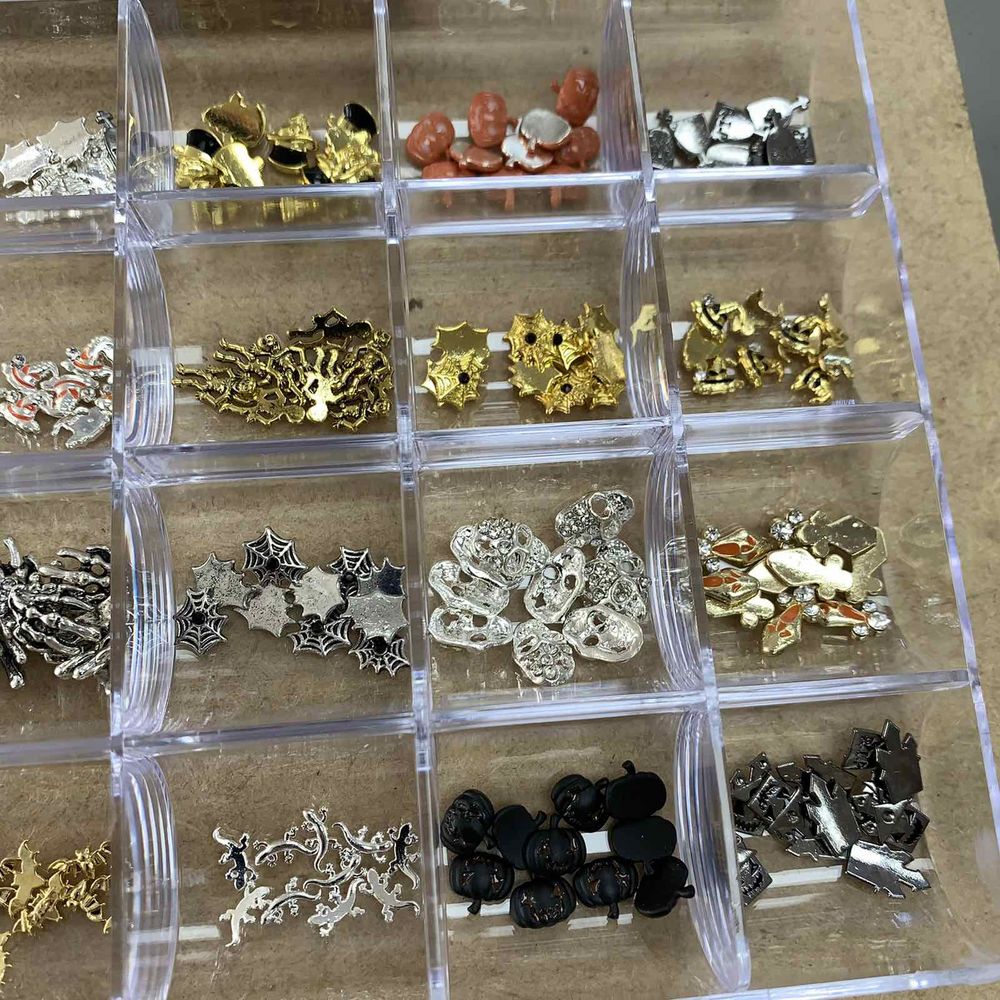
The set comes in multiple purchase options: a full 24-style bundle, a random 12-style pack, or a random 6-style pack. Each style contains roughly 9–10 pieces, for a total of about 230–240 charms when you choose the complete 24-style kit. Styles reflect seasonal and gothic motifs such as spiders and snakes along with vintage and Y2K-inspired pieces.
You can pick the whole 24-style kit or smaller random packs—see the Halloween nail charms to compare options. Prices range from $15.00 to $40.00 depending on which set you pick.
Key terms explained for beginners
- 3D charm: A raised, decorative piece (metal, resin, or mixed media) that sits above the nail surface for added texture and dimension.
- Full set vs. random set: The full set includes all 24 styles; random packs include a selection of 6 or 12 styles chosen at random.
- Placement: The exact positioning of a charm on the nail — center, cuticle-area, or tip — which affects balance and durability.
Tools and supplies you’ll need
- Nail glue or builder gel (choose an adhesive suited to your chosen top system)
- Tweezers or a wax picker for precise placement
- A base color or sculpted extension to attach charms to
- A top coat (regular or gel) to seal edges
- Optional: a small bead of acrylic or gel for extra hold on bulky charms
Step-by-step: applying Halloween 3D nail charms
Follow these steps in order for best results. Read each step fully before proceeding.
1. Prep the nail
- Clean and lightly buff the nail surface so glue adheres well.
- Apply your base color, acrylic, or builder gel and cure if required.
2. Plan your layout
- Arrange a few charms on a flat surface to visualize the design before committing.
- For beginners, start with one accent nail (e.g., ring finger) to practice placement and finish times.
3. Adhere the charm
- Using tweezers or a wax picker, place a small drop of nail glue where the charm will sit.
- Set the charm into the glue and hold for a few seconds until secure. If using builder gel, place the charm then cure under an LED/UV lamp per gel instructions.
4. Seal and finish
- Apply a generous top coat around the charm’s base to lock edges; for raised pieces, seal only the surrounding nail to avoid dulling metallic shine.
- Cure if using a gel top coat, then wipe any tacky residue as directed by your product.
Design and styling tips
- Mix sizes: combine small studs and larger motifs for depth without overcrowding the nail.
- Balance placement across the hand — if one nail is heavy with charms, keep others simpler.
- Use negative space: a single spider or snake charm on a matte black base can be more striking than a fully embellished nail.
- Try themed sets: pair vintage or Y2K pieces with distressed polish for an intentional look.
Care, removal and safety notes
- Care: Avoid prolonged soaking and rough impact; charms are decorative and can loosen if struck or picked at.
- Removal: Gently lift with an acetone soak or professional removal method rather than prying — this reduces damage to the natural nail.
- Safety: These are small parts. Keep away from young children and pets to prevent accidental ingestion.
Who should buy these charms?
The bundle is ideal for nail techs building seasonal portfolios, hobbyists who enjoy swapping motifs, and beginners who want a variety of looks to practice with. Choose the full 24-style set for maximum variety or smaller random packs if you prefer limited mixes to experiment with.
Short wrap-up
Halloween 3D nail charms are an easy way to add instant character to manicures. With basic tools, a steady hand, and the simple steps above, even beginners can create polished, spooky designs. For more product visuals and a short video, follow @DynamicNailSupply on Instagram to see examples and styling ideas.