
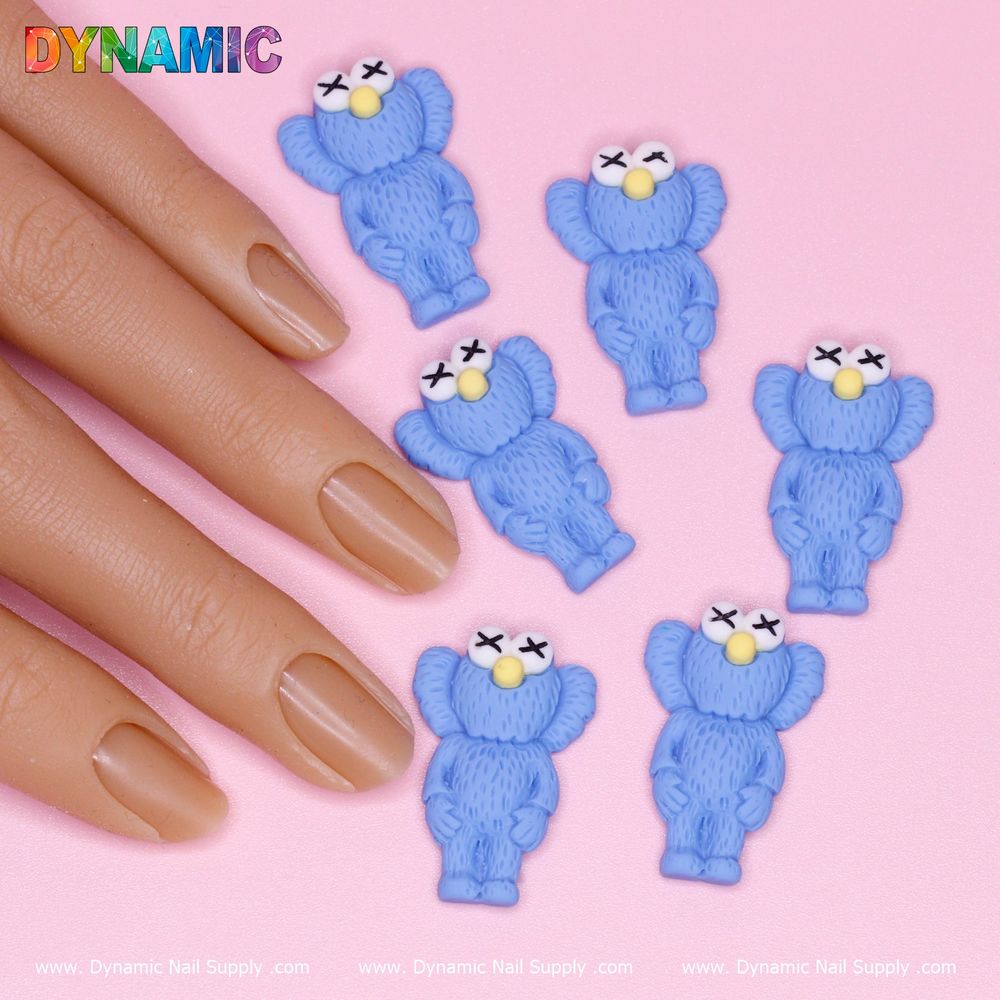
KAWS nail designer charms bring a statement accent to manicure looks, especially for anyone who wants a pop of designer-style detail without the designer price. These blue charms are small, wearable art meant to be added to finished nails for instant personality.
Below you’ll find a clear, practical walkthrough that defines the terms, explains what comes in the pack, and shows step-by-step how to add and care for these charms. If you want to add them to your kit, consider the affordable options available—one example is a simple KAWS nail designer charms set sold for a low price that’s easy to experiment with: KAWS nail designer charms set.
What are KAWS nail designer charms?
These are miniature decorative pieces made for nail art application. The product here includes six blue KAWS-style charms designed to attach to the surface of a finished manicure. They aren’t polish or gel themselves; they’re accessories you attach onto nails to create focal points or a theme across one or more digits.
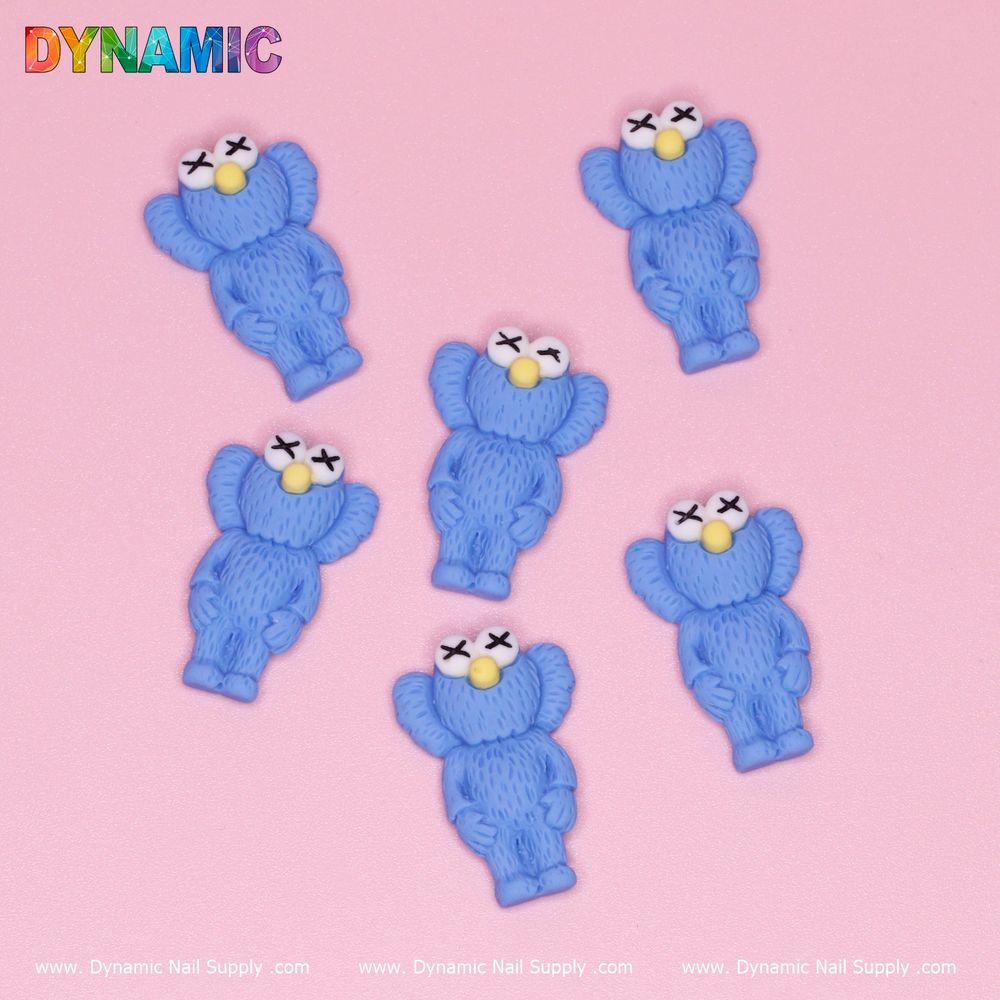
What you get in the pack (key features in context)
- Quantity: 6 individual charms per bag—enough for accenting multiple nails or repeating a motif.
- Finish: Blue colorway chosen for eye-catching contrast on neutral or light backgrounds.
- Type: Nail charms intended for top-layer application over cured gel or dried polish.
- Value: Priced affordably for beginners who want to test looks without a big commitment.
Tools and prep you’ll need
- Base polish or cured gel manicure
- Nail glue or a gel adhesive (compatible with your system)
- Small tweezers or a wax picker for precise placement
- Topcoat—either a regular glossy topcoat or a builder/soak-off gel topcoat
- Optional: a small dabber or toothpick to move glue and a cleansing wipe
Step-by-step application for beginners
- Finish the base: Start with a fully cured gel or fully dried polish layer. Charms adhere best to a smooth, clean surface.
- Plan placement: Before using adhesive, lay out where each charm will go so you can achieve a balanced design across both hands.
- Apply adhesive: Use a tiny drop of nail glue or a pin-sized amount of gel adhesive where the charm will sit. Less is more—excess glue can spread out and collect around the charm.
- Place the charm: Using tweezers or a wax picker, set the charm onto the adhesive and press gently for a few seconds. Keep your hand steady to avoid smudging the base.
- Secure with topcoat: Seal the charm’s edges with a thin layer of topcoat. For gel systems, cure according to your topcoat’s instructions. If using regular topcoat, allow adequate drying time; you can apply a second thin coat if needed.
- Check longevity: Avoid heavy impact on the decorated nails for the first few hours after application to let adhesive fully set.
Design ideas and placement tips
- Accent nail: Use a single KAWS charm on one nail per hand for a minimalist approach.
- Cluster look: Place two or three charms near the cuticle or tip for a layered 3D effect.
- Contrast backgrounds: Blue charms pop on creams, nudes, pale grays, or even black polish.
- Symmetry vs. asymmetry: Match charm placement on both hands for symmetry, or place on different fingers for a modern, asymmetrical vibe.
Who these charms are for
These charms are ideal for nail enthusiasts who want to try designer-inspired accents without a large investment. They work well for learners practicing placement and sealing techniques, salon techs offering fun add-ons, or anyone building a nail-art starter kit. Because each bag contains six pieces, they’re suited to short series of looks rather than large-scale full-set coverage.
Care, removal and safety basics
- Care: Keep decorated nails dry for an hour after application and avoid picking at edges. Reapply a thin topcoat every few days to maintain sealant integrity if needed.
- Removal: If charms are glued on, soften adhesive with acetone or a soak-off method appropriate for your base system. Remove gently to avoid damaging the natural nail.
- Safety: Use adhesives formulated for nail use and work in a well-ventilated area. If you experience irritation, discontinue use and consult a professional.
Final tips and where to buy
Start small—apply one or two charms first so you can learn placement and sealing without feeling overcommitted. Keep your tweezers and a small brush dedicated to charm work to speed the process and avoid cross-contamination. If you’re buying, these blue KAWS-style charms are an accessible way to experiment with designer-inspired nail art; you can find similar packs from select suppliers including Dynamic Nail Supply. The pack discussed here is affordably priced and intended for exploratory wear and practice.
With a bit of patience and the right adhesive, KAWS nail designer charms make it simple to add a bold accent to any manicure. Try different placements, seal carefully, and enjoy the instant personality they bring to your nails.