
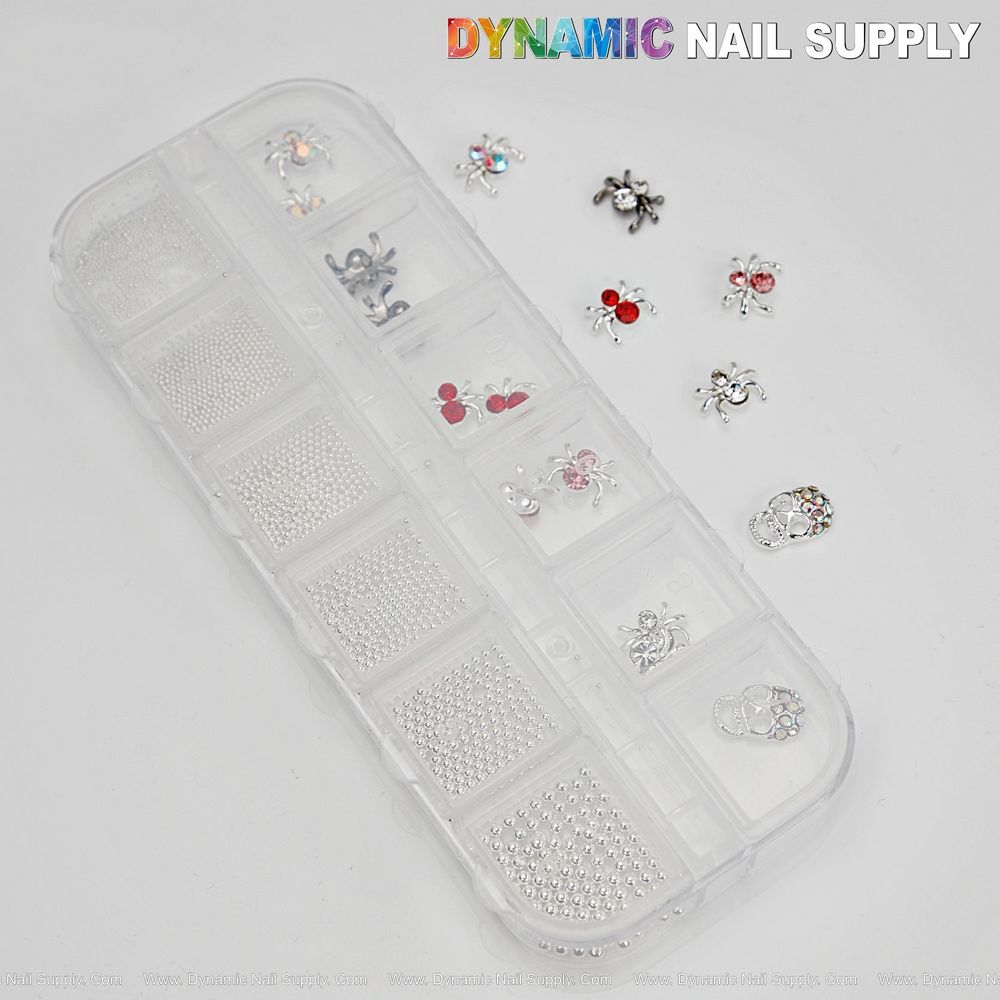
Every fall, nail artists and DIYers face the same challenge: how to make Halloween manicures look detailed and durable without spending hours or breaking the bank. Flat polish and simple stickers can feel underwhelming against costumes and dim lighting. Enter spider rhinestone nail charms paired with full silver mixed size beads—small accents that transform basic nails into statement gothic designs.
Why many Halloween manicures fall flat
Nail designs often lack depth for three reasons: the base art is too simple, embellishments are one-dimensional, or decorations are hard to place and secure. When tiny motifs are used, they can look toy-like or detach quickly. For seasonal looks—like gothic, punk, or Y2K styles—you need pieces that read clearly from a distance and snap the theme into focus.
How spider rhinestone nail charms solve that problem
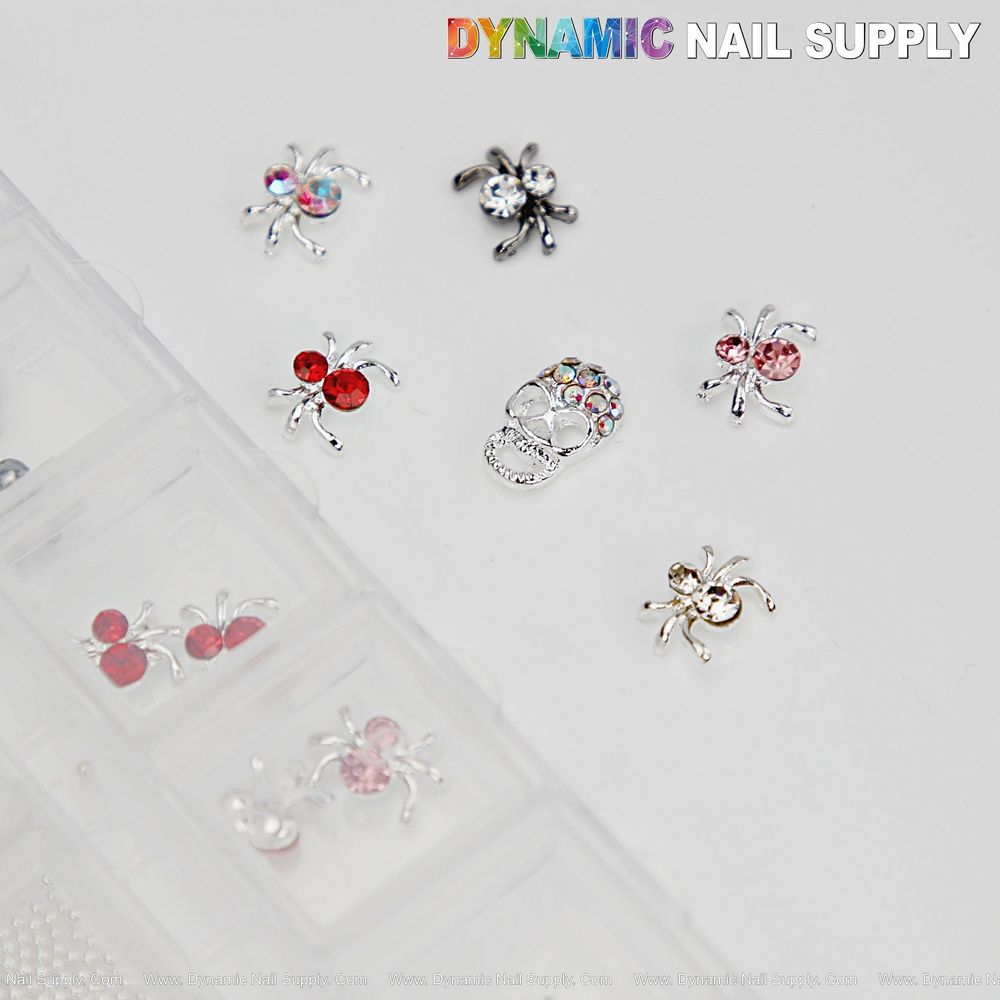
Spider rhinestone charms bring instant texture and a focal point to each nail. Combined with full silver mixed size beads, they create contrast and movement: the rhinestone catches the light while the beads outline or anchor the motif. These elements work together to elevate a manicure from flat polish to a curated, spooky accent that photographs and wears well.
Key features in context
- Spider rhinestone charms: Provide a recognizable Halloween motif that reads at a glance and becomes the centerpiece of your design.
- Full silver mixed size beads: Offer variation in scale so you can surround charms with tiny metallic accents or use larger beads to build borders and texture.
- DIY-friendly: Packaged as nail art decoration accessories intended for Halloween and gothic-themed nails, they’re designed for at-home or salon use.
Practical application tips
Use these steps to get secure, polished results:
- Prep nails as usual—clean, shape, and apply base coat or gel.
- Place the base color or negative-space design first. Dark tones, chrome, or matte finishes make the silver beads and rhinestones pop.
- Set the spider charm where you want the focal point. Use a small dab of nail glue or a dot of builder gel to position it before curing.
- Surround the charm with mixed silver beads to frame the motif or create a mini web effect. Larger beads can anchor the design at the cuticle or tip; smaller beads fill gaps and add shimmer.
- Seal everything with a strong top coat or encapsulate in clear builder gel for long wear. Buff only after full cure to avoid shifting elements.
Placement ideas
- Single accent nail: let one spider charm dominate the ring or middle finger.
- Clustered accents: create a vignette across two nails for a cascading effect.
- Border detail: line the free edge or cuticle with mixed beads for subtle shine that complements the charm.
Who should use these charms
These accents are ideal for nail technicians, hobbyists, and anyone prepping for Halloween or gothic-inspired events. They suit clients who want a bold seasonal look without elaborate hand-painted art. Because the beads are mixed sizes, both meticulous designers and quick-styling DIYers can work with them.
Care and safety notes
- Always secure embellishments with appropriate adhesives or gel meant for nail art to reduce lifting.
- Avoid placing large groups of beads near the nail edge without proper sealing; heavy clusters may catch on fabrics.
- Follow standard salon hygiene: clean tools between uses and store decorations in a dry place.
Where to buy
If you’re ready to add gothic sparkle, order from Dynamic Nail Supply. Find spider rhinestone nail charms set — price shown $5.99 and subject to change.
Final thoughts
Spider rhinestone nail charms paired with full silver mixed size beads offer a quick, reliable way to address the common problem of flat seasonal manicures. They create an immediate focal point, work with a variety of base styles, and are simple enough for both pros and beginners to use. For Halloween-ready nails that stand out in photos and in person, these decorations deliver impact without extra fuss.