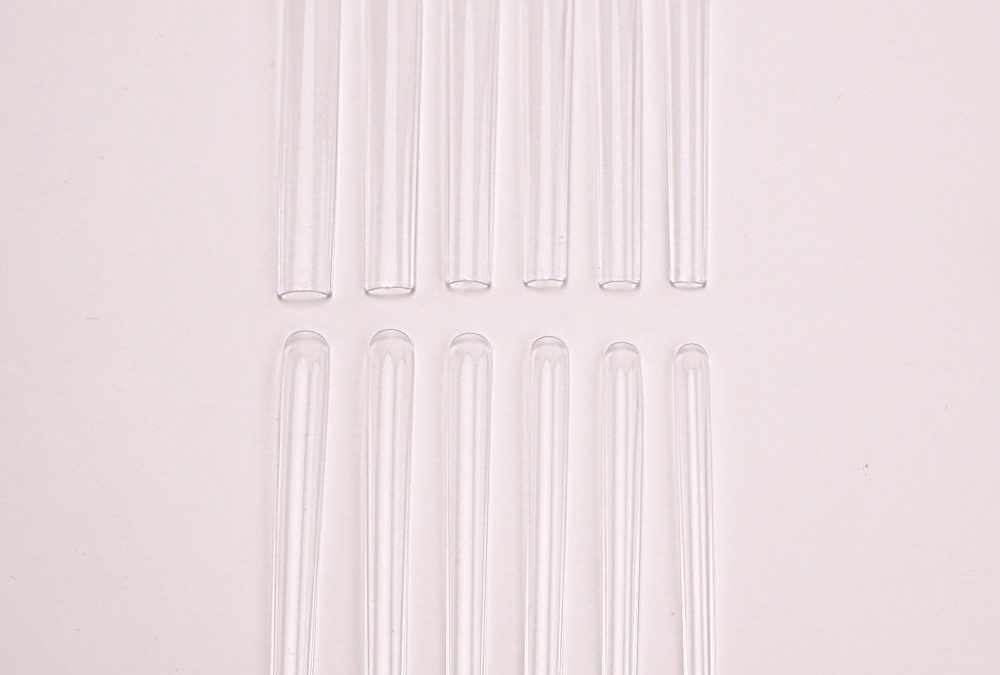
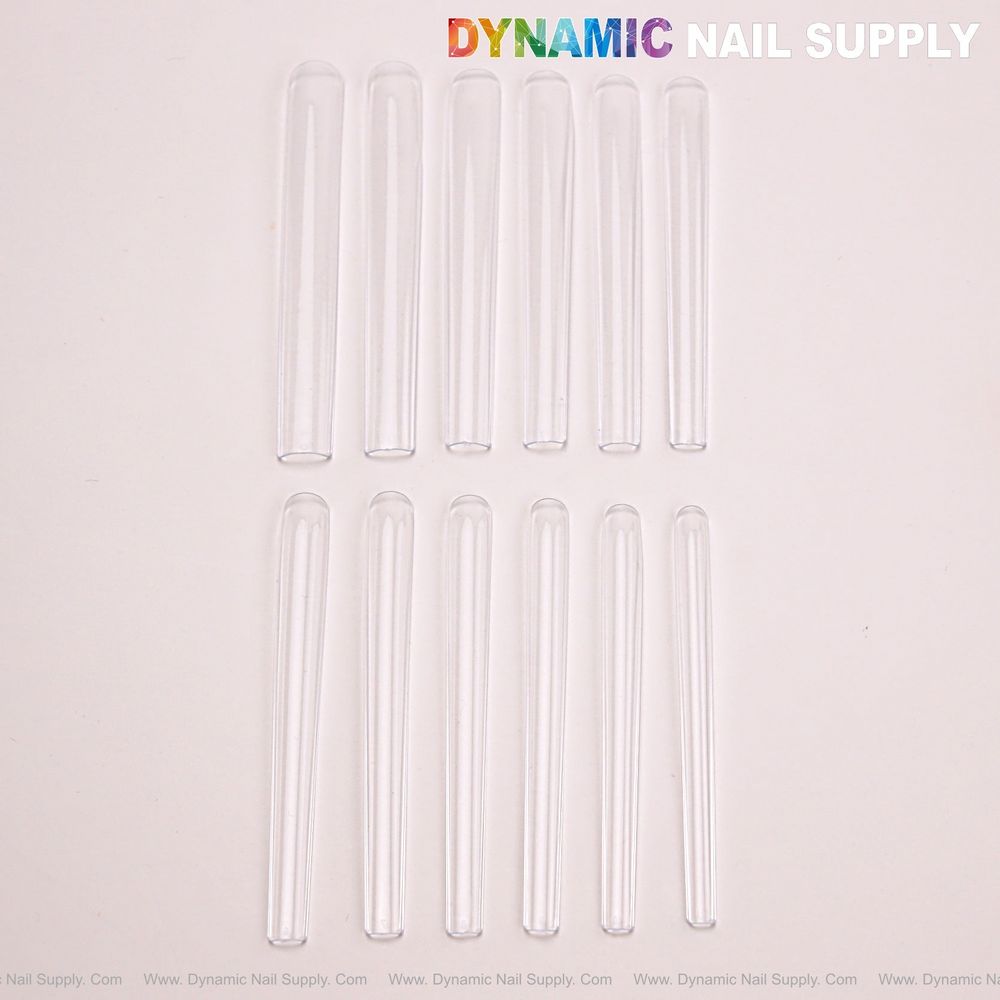
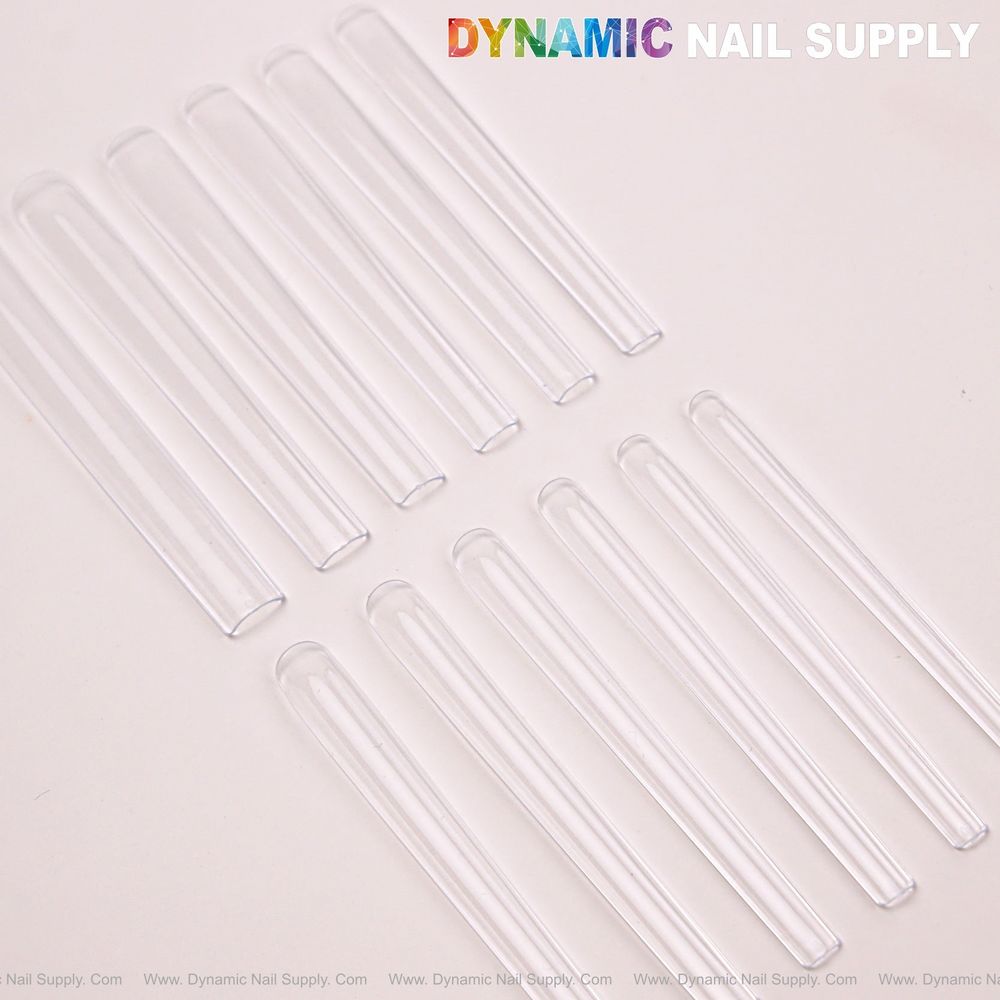
Definition: 10XL square nail tips are ultra-long, full-cover synthetic tips with straight sidewalls and a defined square free edge that extend the natural nail surface for dramatic nail art and large-scale embellishment.
What are the key physical characteristics?
These tips are fully transparent with a high-gloss smooth plastic finish that reads like an invisible extension of the natural nail. The visible tones in the supplied photo include clear transparency, a soft natural pink nail bed behind the tip, a pale beige skin tone background, and an off-white free edge. The full-cover design covers from the cuticle area to the free edge and is pre-shaped into a square silhouette to reduce initial shaping time.
How do we prepare natural nails before application?
- Sanitation: Wash hands and work on a clean, disinfected station.
- Cuticle management: Gently push back cuticles and remove excess dead skin; do not aggressively cut living tissue.
- Surface prep: Lightly buff the nail plate to remove shine; avoid over-buffing which weakens the natural plate.
- Cleansing and dehydration: Remove dust and oils with the cleanser recommended by the adhesive system you use.
What are the step-by-step application actions?
- Select size: Choose a full-cover tip that fits sidewall to sidewall without overlapping or pinching the skin.
- Prep the tip: Lightly buff the inside contact area if your chosen adhesive requires it—some adhesives bond better to a slightly abraded surface.
- Apply adhesive: Use a compatible full-cover tip adhesive or gel extension adhesive following the adhesive manufacturer’s directions.
- Attach tip: Position the tip near the cuticle and press toward the free edge to expel air and ensure even contact. Hold until the adhesive sets or cure per gel-adhesive instructions.
- Secure and shape: After adhesive sets, check the junction for gaps. Trim and file to refine length and sidewall alignment; these tips are easy to reshape into other silhouettes if desired.
- Finish with enhancements: Apply builder gels, encapsulation, chrome powders, or hand-painted art. Top coat as needed for gloss or matte finish.
What safety and handling notes should we observe?
- Adhesives: Work with adhesives in a well-ventilated area and follow manufacturer safety data. Avoid skin contact with uncured adhesives and adhesives intended for nail plate only.
- Length considerations: Ultra-long extensions change leverage on the natural nail. Educate clients about wear limits and realistic aftercare to reduce breakage risk.
- Removal: Do not forcibly pry off full-cover tips. Soften adhesive or use professional removal methods appropriate to the materials used.
- Sanitization: Clean tools after each client and avoid cross-contamination. Store extra tips in their original packaging when possible.
How do we customize shape and design once applied?
These clear tips act as a neutral, glossy base that shows the nail bed beneath—ideal for translucent effects like baby-boomer ombré or encapsulations that are visible through the tip. Use standard trimming tools to shorten length, then file to convert square to rounded, almond, or stiletto shapes. For chrome, gel polish, or encapsulated designs, the transparent surface provides a consistent, high-gloss substrate.
Design considerations
- Encapsulation: Add dried flowers, glitter, or other inclusions beneath a builder gel for depth visible through the clear tip.
- French and reverse French: The clear tip allows a crisp painted white free edge or a painted reverse smile line over the transparent zone.
- 3D and heavy embellishment: The long platform is well suited to large rhinestones and charms but requires secure anchoring and client aftercare instructions due to increased weight.
Pro tip: When converting the square to another silhouette, remove bulk at the free edge first to preserve natural cuticle fit.
What practical scenarios are these tips best for?
Use them for editorial sets, competitive nail art, or high-impact client requests where surface area is needed for layered 3D work. They suit looks that benefit from a neutral, clear base: sheer pink ombré, encapsulations, chrome topcoats that rely on an even clear surface, and French designs requiring a precise white line.
How do we assess fit and longevity?
- Fit test: Inspect sidewalls immediately after positioning. Proper fit is flush without pressure on the lateral skin.
- Longevity factors: Adhesive choice, application technique, client activity level, and embellishment weight all influence wear time.
- Maintenance: Recommend scheduled fills and gentle handling for exceptionally long lengths to minimize stress at the junction.
Pro tip: For cleaner encapsulations, apply a thin, even layer of builder gel over the junction before placing heavy decoration; it reduces lift caused by large inclusions.
Short review list for quick reference
- Material: Ultra-clear, high-gloss plastic—reads as an extension of the natural nail.
- Shape: Pre-shaped square with straight sidewalls and defined free edge.
- Coverage: Full-cover design from cuticle area to free edge—reduces initial shaping time.
- Application: Compatible with standard full-cover adhesives and gel adhesives; requires careful size selection at application.
- Usage: Best for dramatic, long-length creative work and large-scale embellishment.
- Packaging: 120 pieces per bag—convenient for professional use (priced at $12; prices may change).
For product specifics and to inspect size availability, see the item page here https://dynamicnailsupply.com/products/10xl-square-nail-tips-full-cover-bag-of-120pcs
We invite you to examine the bag contents and photo details to determine if this clear, square full-cover option suits your competition or editorial needs.